
12 Backsplash Edge Trim Ideas for a Luxe Finished Look You’ll Love

Your backsplash is gorgeous—until it just…stops. That raw edge? It’s like wearing a stunning outfit with flip-flops. A clean, intentional edge trim makes your backsplash look custom, expensive, and totally finished. Whether your style is modern glam or rustic chic, these 12 ideas will give your tile that designer “ta-da” moment.
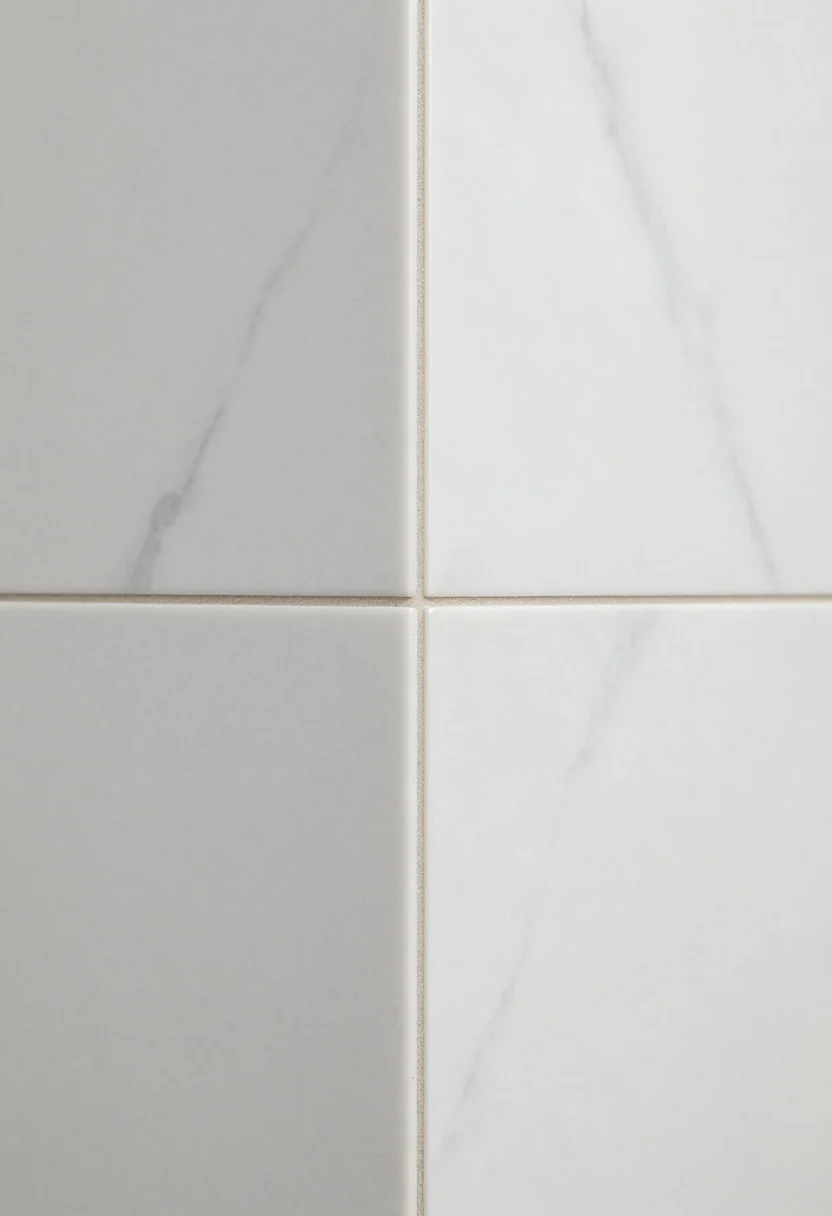
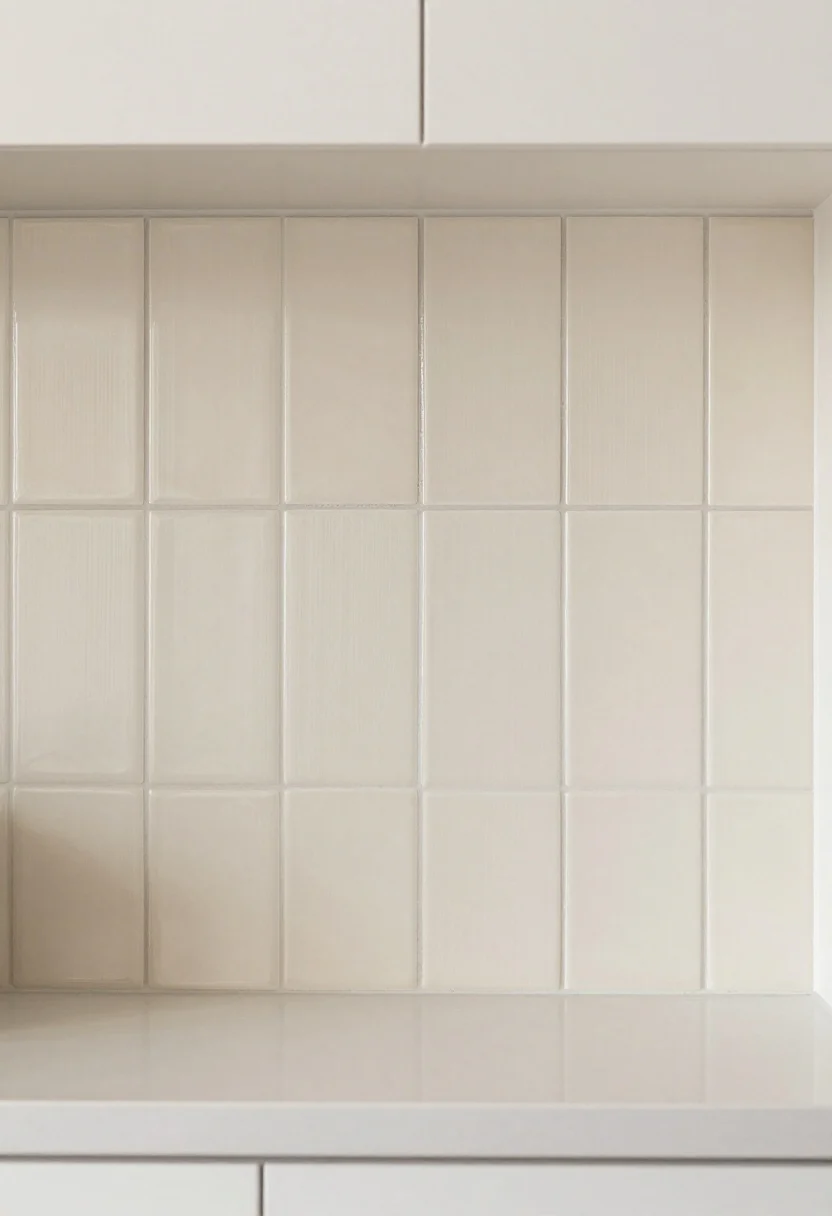
1. Bullnose Tile Bliss
© 2025 AI Illustrator — Inspiration Only
Bullnose tiles are the OG finishers—rounded, smooth, and made to cap off edges with zero fuss. They soften corners, hide the tile body, and create a polished line that looks high-end without trying too hard.
Use bullnose on exposed ends, along window cutouts, or anywhere your backsplash meets drywall. It’s classic, durable, and easy to wipe down—so it earns its keep every day.
Pro Tips
- Match bullnose to your field tile for a seamless, hotel-bathroom-level finish.
- Not available in your tile? Choose a coordinating solid color bullnose (white or soft gray usually wins).
- Keep grout lines tight for a cleaner edge—messy grout ruins the vibe.
What to shop for: Ceramic or porcelain bullnose tiles, grout, spacers.
2. Sleek Metal Schluter Strips
© 2025 AI Illustrator — Inspiration Only
If you want clean lines and a minimalist finish, metal edge profiles (often called Schluter strips) are the move. They create a crisp, modern border that works brilliantly with stone, ceramic, and porcelain.
They also protect corners from chipping—great for busy kitchens and, you know, kids who think countertops are racetracks.
Pro Tips
- Match the finish to your hardware: brushed nickel, matte black, brass, or stainless steel.
- Use square-edge profiles for a sharp look; rounded styles read softer and more traditional.
- Dry-fit first. Profiles sit under the tile, so placement precision is everything.
What to shop for: Metal edge profiles, miter box/saw, finish-matching screws or caulk.
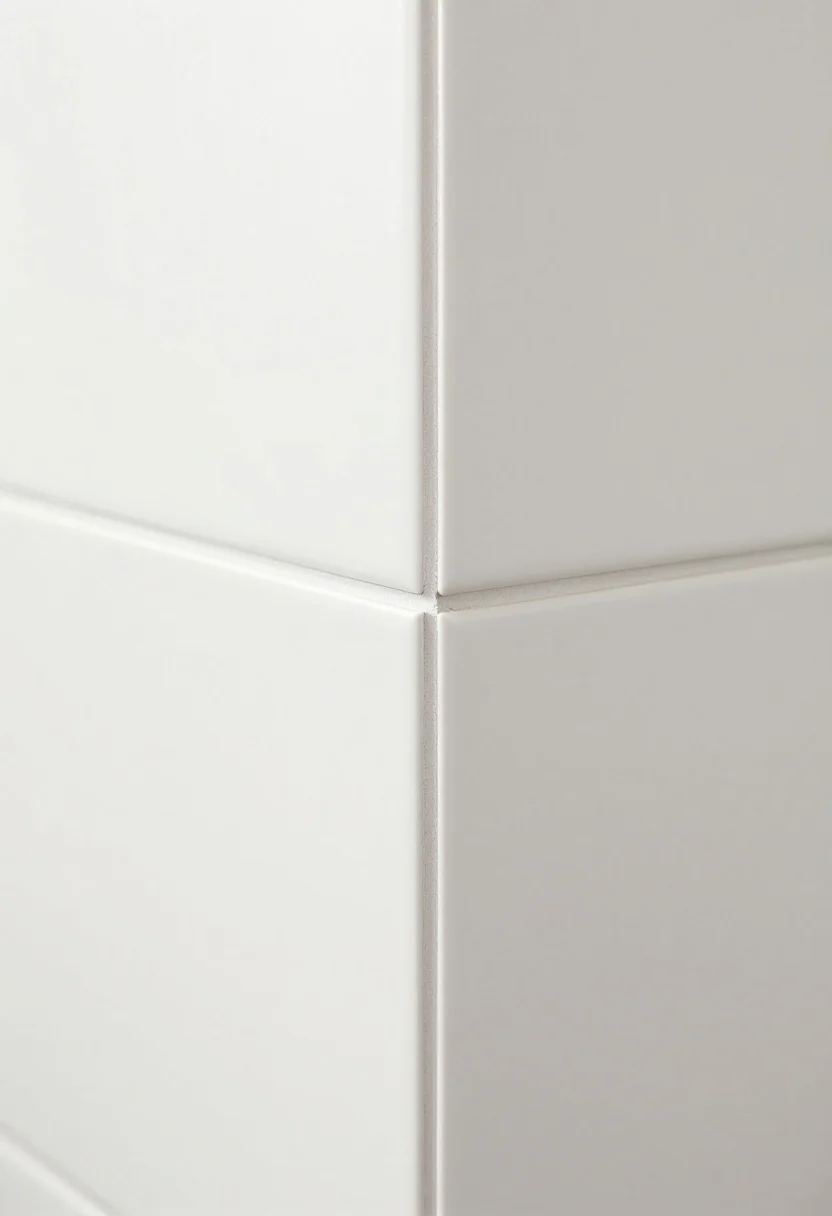
3. Mitered Tile Corners For That Custom Look
© 2025 AI Illustrator — Inspiration Only
Mitering is when tiles are cut at a 45-degree angle to meet at a perfect corner—no trim needed. It’s a high-end trick you’ll see in designer kitchens, especially with stone-look porcelain or marble.
Yes, it’s more effort. But the payoff? A seamless, sculpture-like edge that screams custom millwork, not big-box DIY.
Pro Tips
- Works best with thicker tiles and stone; thin ceramic can chip if you sneeze near it.
- Use a wet saw with a fresh blade for clean cuts, and sand edges lightly before setting.
- Keep the corner line razor-straight; wobbles are not cute here.
4. Pencil Liner Perfection
© 2025 AI Illustrator — Inspiration Only
Pencil liners are slim, rounded trim pieces that frame your backsplash like eyeliner. They add just enough definition without stealing the spotlight.
Use one to “outline” the edge or layer two for a subtle, traditional border that feels tailored and finished.
Pro Tips
- Match the liner to your tile body for tone-on-tone sophistication, or contrast for a gallery-frame effect.
- Pair with small-format tiles (think mosaics or subway) for a pleasing scale balance.
- Keep the grout color low-contrast so the line reads clean, not choppy.
What to shop for: Ceramic or stone pencil liners, color-matched grout, adhesive.
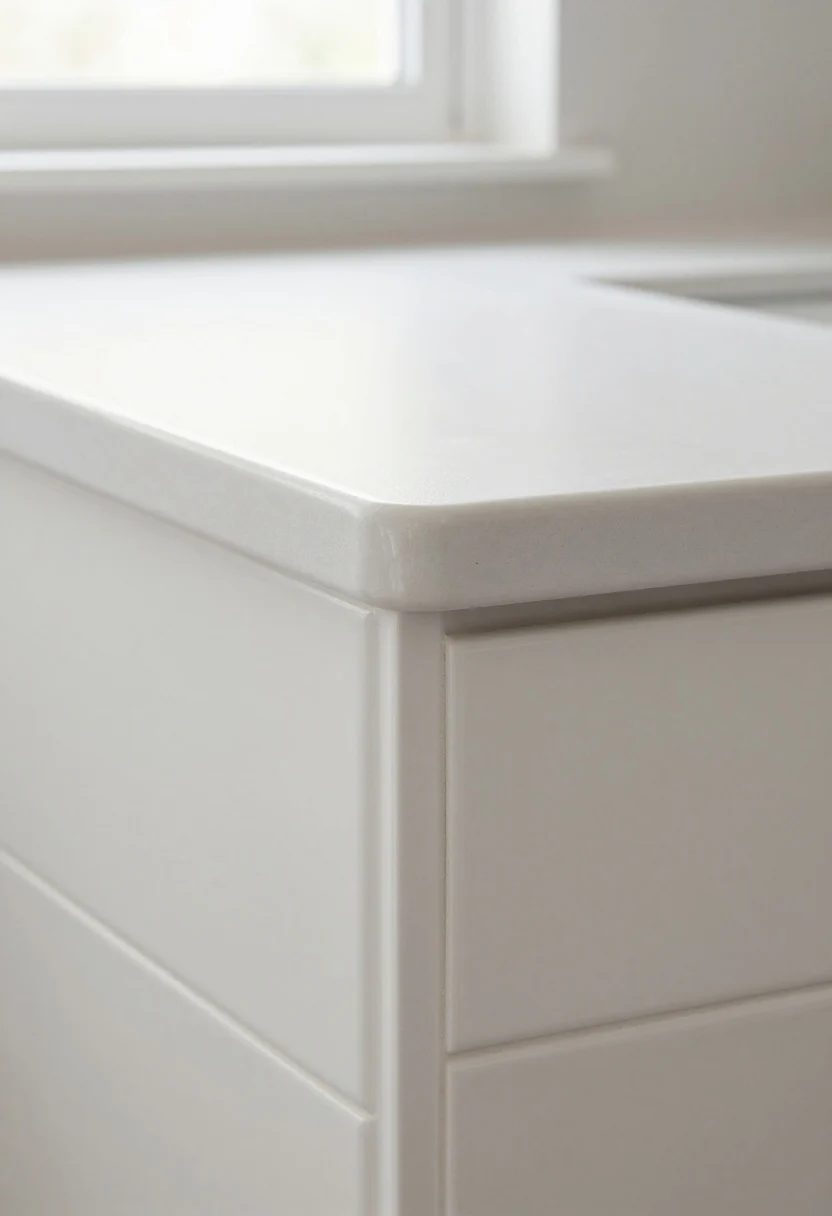
5. Quarter-Round Charm
© 2025 AI Illustrator — Inspiration Only

Want a soft, rounded edge that nods to vintage bathrooms and Parisian cafes? Quarter-round trim is your friend. It wraps the edge in a gentle curve that looks warm and welcoming.
This style shines in traditional, cottage, and transitional kitchens. It’s also incredibly forgiving if your walls aren’t laser-straight (which, let’s be honest, most aren’t).
Pro Tips
- Use at outside corners or to cap a bare edge where tile meets paint.
- Paint the adjacent wall first—the caulk line is easier to manage after install.
- Team with beadboard, shaker cabinetry, or bridge faucets for a cohesive look.
6. Stone Slab Edge For Instant Luxe
© 2025 AI Illustrator — Inspiration Only
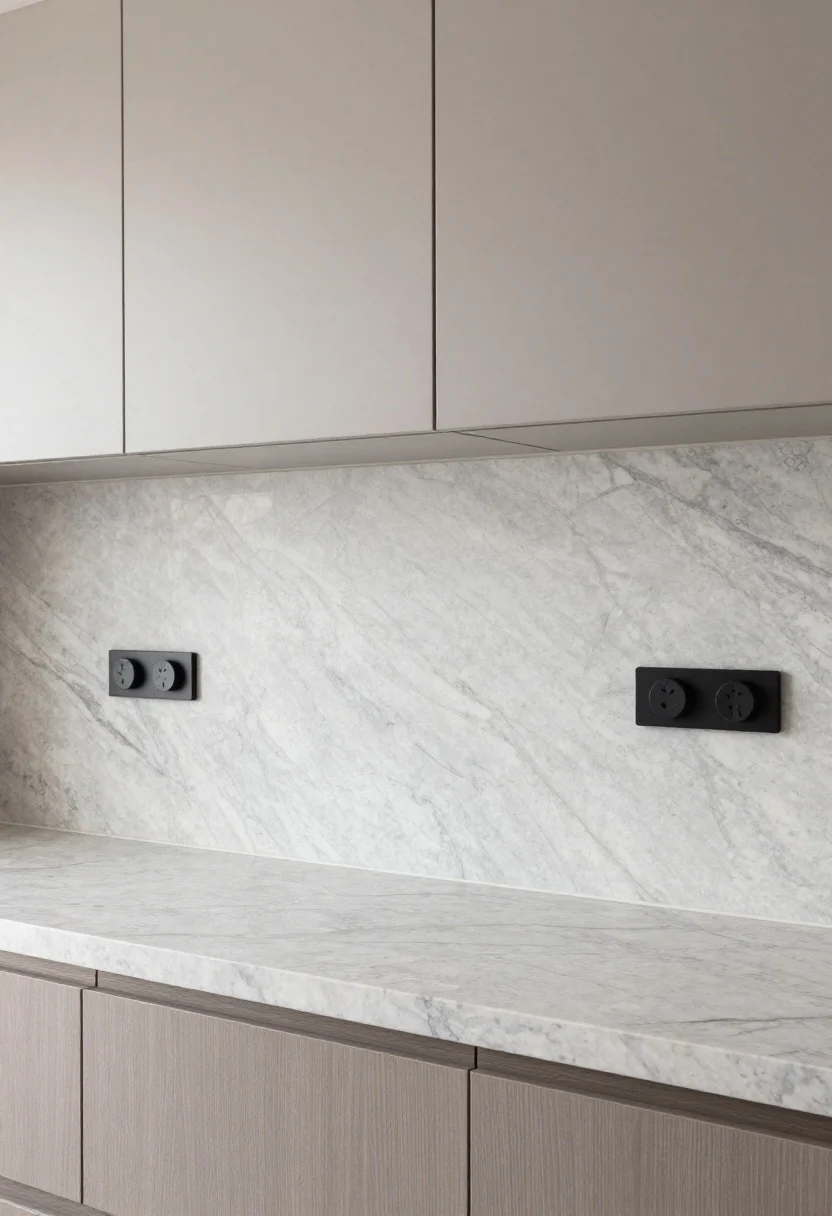
For a backsplash that melts into your countertops? Consider running your counter slab material up the wall, then finishing the edges with a polished slab return or waterfall detail. It’s sleek, dramatic, and wipe-clean easy.
Try this behind a range or as a statement wall. The continuous material makes even small kitchens feel designer-level.
Pro Tips
- Ask your fabricator for a eased or mitered edge—no rough stone edges, ever.
- Keep outlets minimal with slim covers or under-cabinet strips so the slab shines.
- Coordinate veining direction with your counter for a thoughtful, custom feel.
What to shop for: Quartz, marble, or porcelain slabs; low-profile outlet covers.
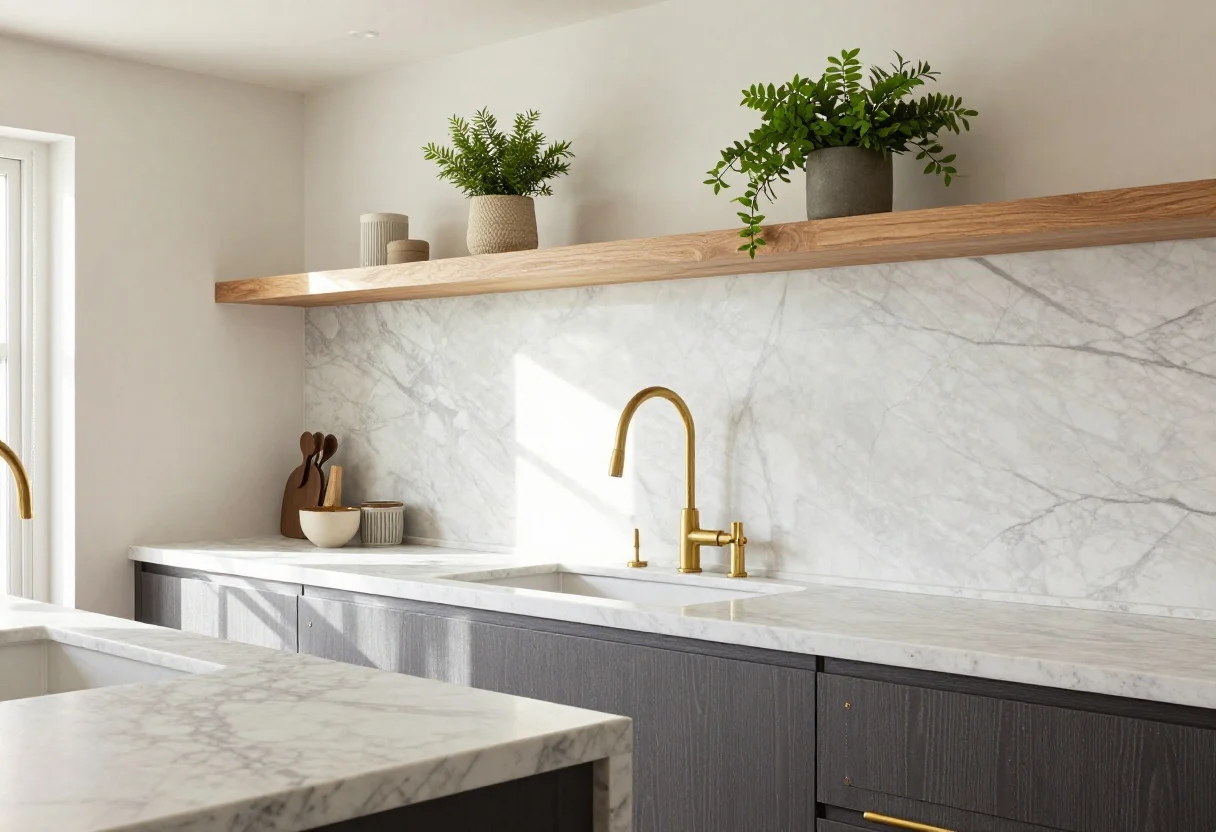
7. Wood Trim Warm-Up
© 2025 AI Illustrator — Inspiration Only
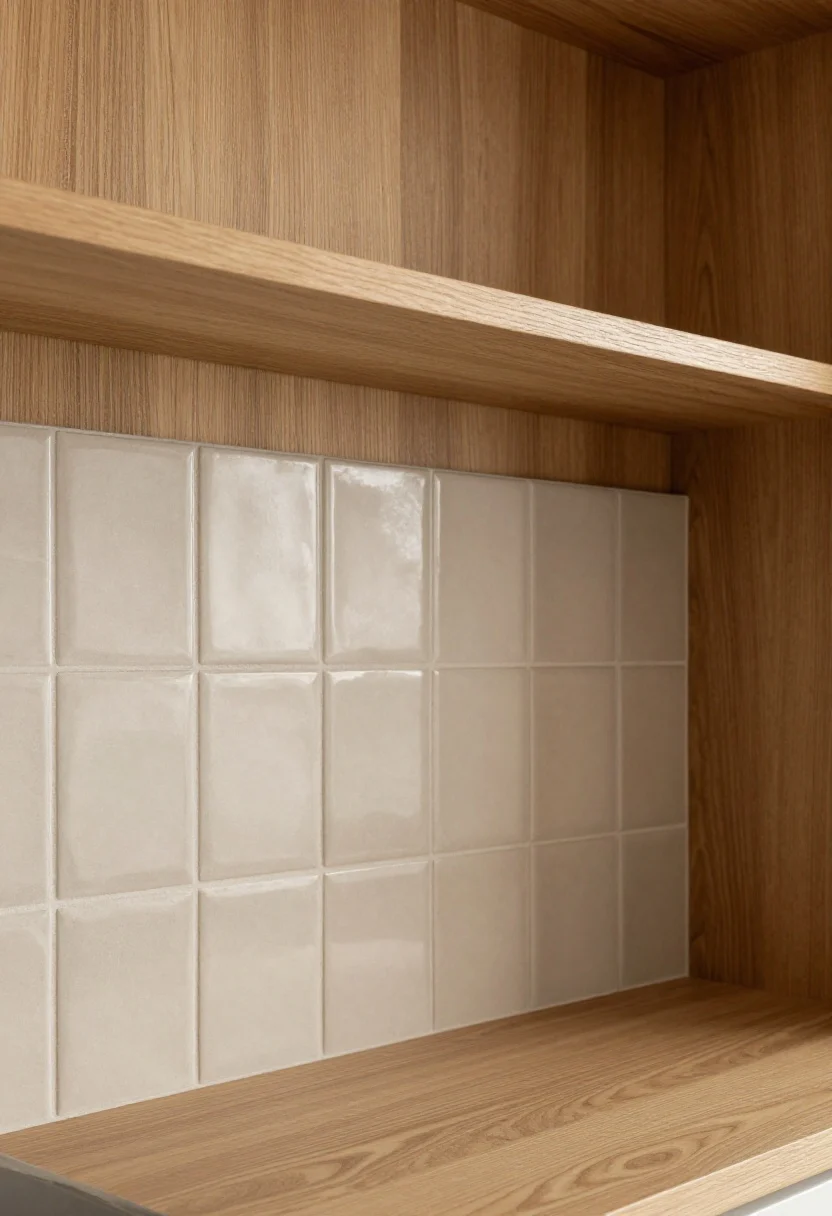
Sometimes tile needs a little warmth. Enter wood trim—a slim, sealed piece that caps your tile and adds cozy texture. It’s unexpected, especially in modern spaces, and looks stunning next to matte tiles.
Match the tone to your flooring or open shelving for a pulled-together look that says “designer moodboard approved.”
Pro Tips
- Choose hardwoods like white oak, maple, or walnut; seal with a water-resistant finish.
- Use a square or bullnose wood profile—nothing too ornate to avoid vying with the tile pattern.
- Maintain a hairline caulk joint between tile and wood for expansion and easy cleaning.
What to shop for: Pre-finished wood trim, clear polyurethane, paintable caulk.
8. Color-Matched Caulk And Paint Edge
© 2025 AI Illustrator — Inspiration Only
On a budget or working with tricky walls? A crisp caulk-and-paint edge can look shockingly clean when done right. It’s the minimalist way to finish tile without extra profiles or trim pieces.
This works best with flat, rectified tiles where the cut edge isn’t obvious. Just keep your lines sharp and your color matches tight.
Pro Tips
- Use painter’s tape to create a flawless line, then remove while the caulk is still wet.
- Choose siliconized, paintable caulk in a color that matches the grout or tile body.
- Finish with semi-gloss paint for wipeability near cooking zones.
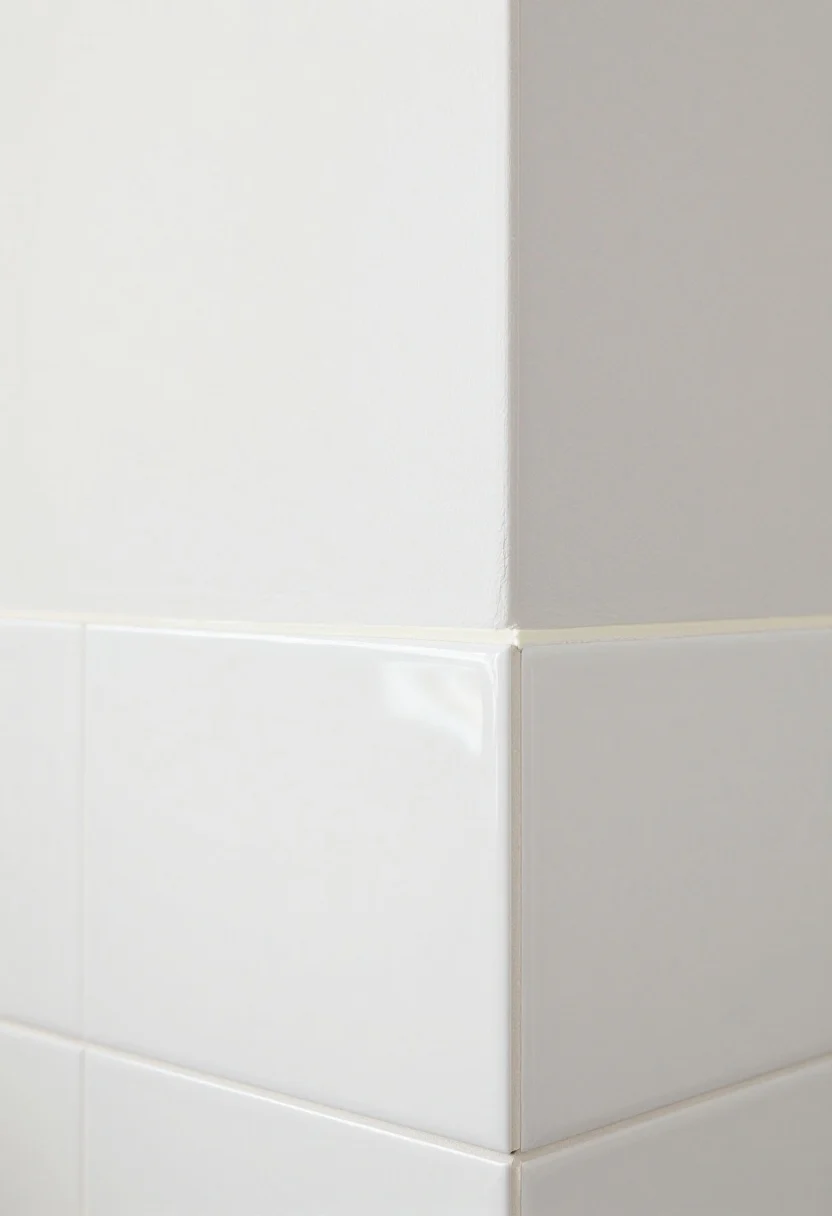
9. Micro-Bevel Transition To Drywall
© 2025 AI Illustrator — Inspiration Only
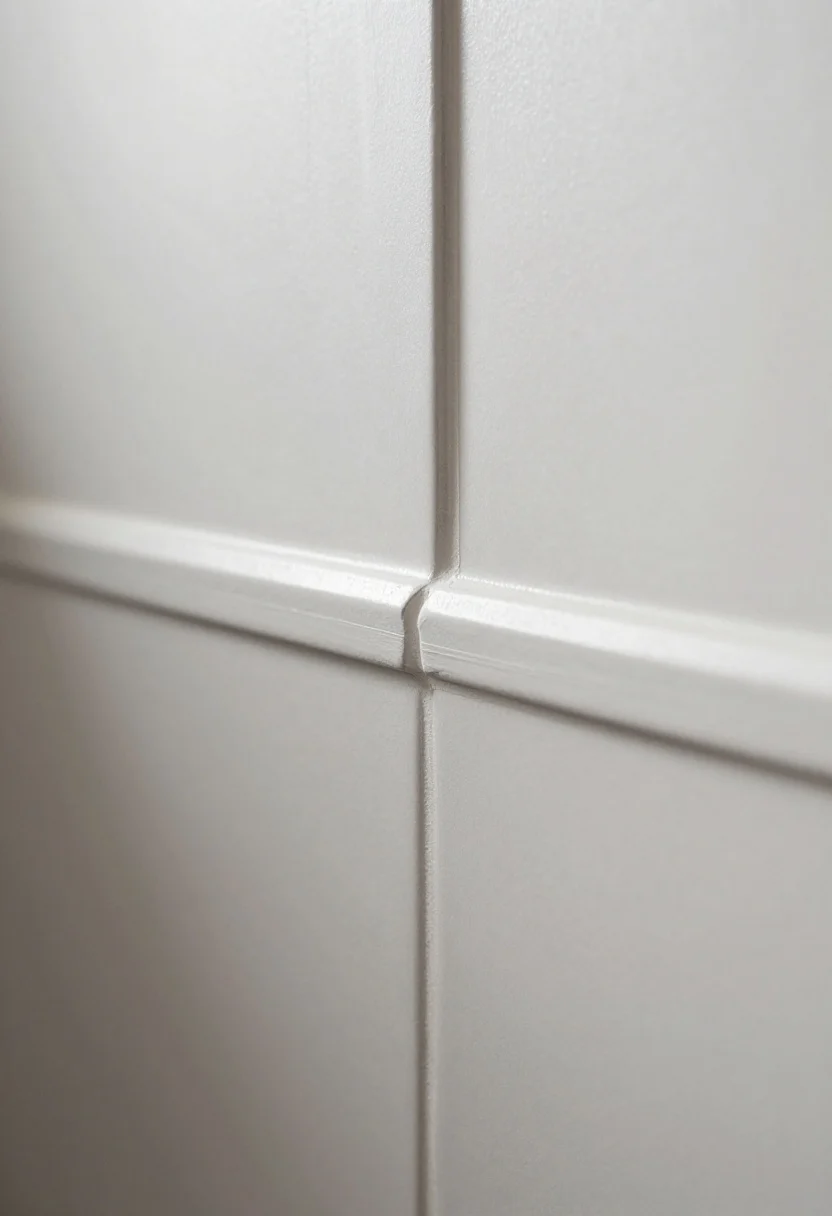
If your backsplash stops mid-wall, try a micro-bevel transition: bevel the grout line at the edge and finish with a razor-straight paint edge. It’s an editorial trick you’ll notice in boutique hotels once you know to look.
The effect is subtle, modern, and super clean—like the tile simply fades into the wall. Minimalists, rejoice.
Pro Tips
- Use a grout finishing tool to create a gentle bevel at the last tile edge.
- Let grout cure, then slice a perfect paint line with high-quality tape and a steady hand.
- Best with large-format tiles and monochrome palettes.
10. Mosaic Border Finish
© 2025 AI Illustrator — Inspiration Only
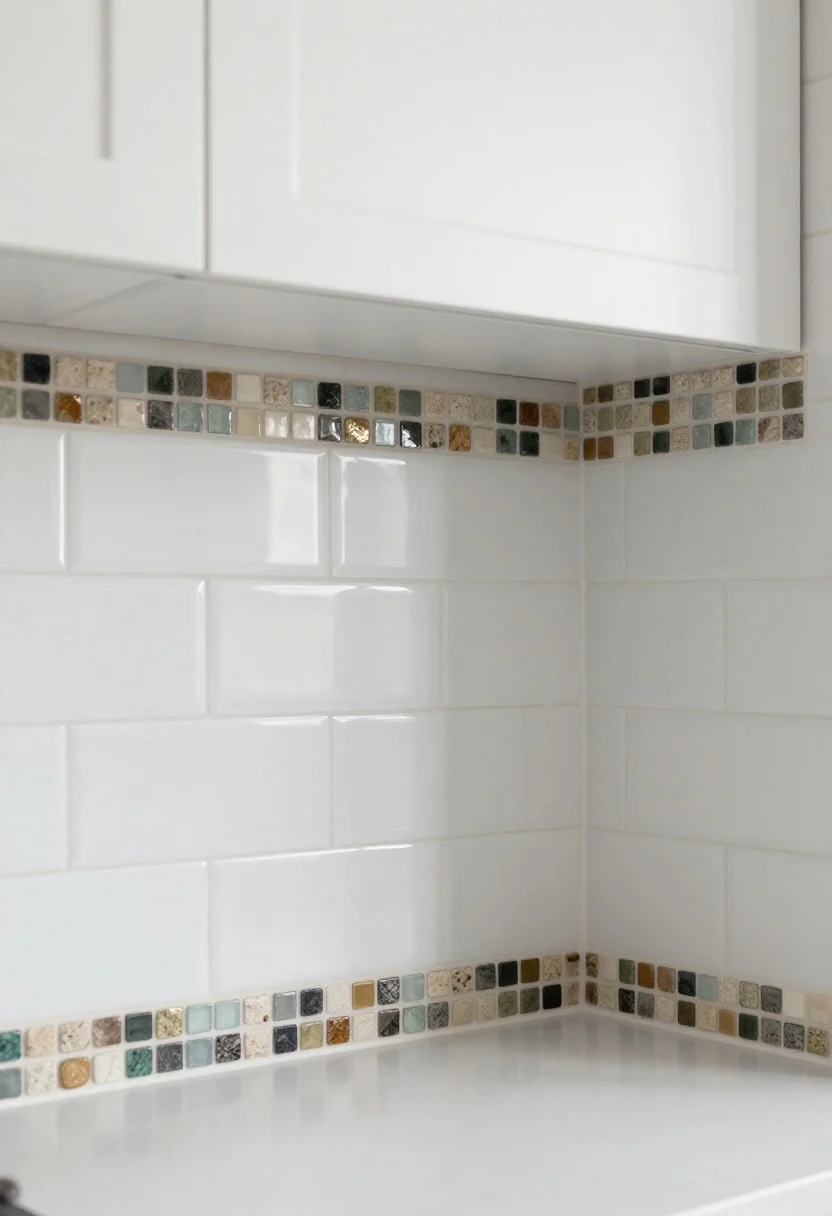
Turn the edge into a feature with a mosaic border. A slim strip of mixed stone, glass, or metallic tile can act as both artwork and edge trim, especially if your main tile is simple.
It’s a great way to tie in cabinet hardware, counter veining, or pendant finishes. Think subtle, not carnival.
Pro Tips
- Keep the border 1–2 inches wide—just enough to read as intentional.
- Repeat the mosaic around windows or niche edges for cohesion.
- Choose a grout tone that flatters the busiest tile in the mix, not the plain one.
What to shop for: Mosaic sheets, tile nippers, coordinating grout.
11. Ceramic Chair Rail Elegance
© 2025 AI Illustrator — Inspiration Only

For a traditional, elevated look, finish your backsplash with a ceramic chair rail or cornice-style trim. It adds architectural dimension and feels very “custom millwork meets tile.”
Use this edge in classic kitchens with shaker cabinets, marble counters, and vintage-inspired hardware. It’s rich without being fussy—if you keep the palette tight.
Pro Tips
- Stick to neutrals and let the profile be the star; bright colors + ornate trim can get loud.
- Balance with a simple field tile like 3×6 subway or square zellige-look tiles.
- Mind your depth; chair rails sit proud of the tile, so plan outlets and shelves accordingly.
What to shop for: Ceramic chair rail trim pieces, color-matched caulk, outlet extenders.
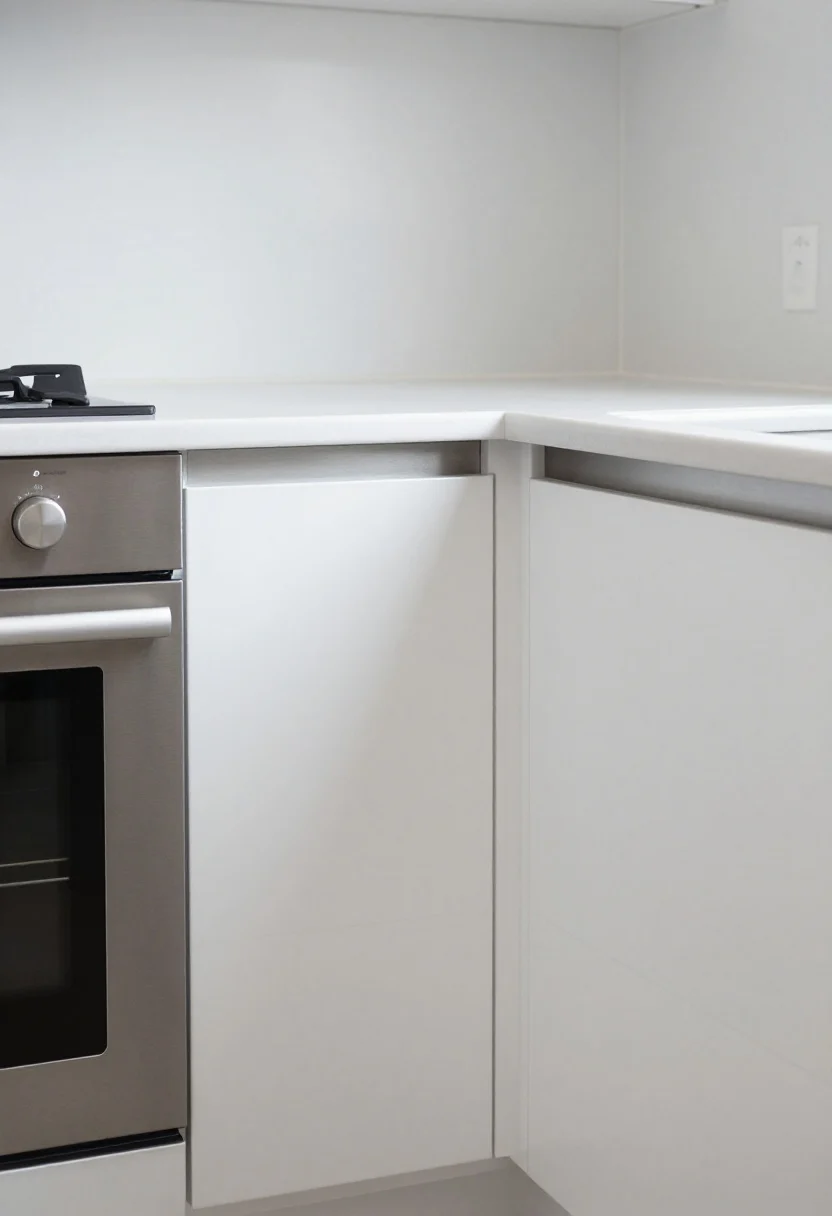
12. Painted Metal Angle For Invisible Minimalism
© 2025 AI Illustrator — Inspiration Only
Want the protection of metal with a stealth vibe? Install a thin aluminum L-angle and paint it the wall color. The edge looks sharp and almost disappears—perfect for modern flats and rentals (with permission).
It’s durable, budget-friendly, and lets your tile be the main event without a shouty border.
Pro Tips
- Prime metal with a bonding primer, then use the same wall paint for a perfect match.
- Choose a low-profile angle (1/2 inch or less) to keep the line elegant.
- Set it with construction adhesive and micro finish nails if studs aren’t conveniently placed.
What to shop for: Aluminum angle, metal primer, construction adhesive.
How High Should Your Trim Go?
- Counter to upper cabinets: Trim at the outer edge or window returns.
- Counter to ceiling: Carry trim all the way up for continuity.
- Range feature wall: Frame the edges vertically with liners or profiles for a focal “panel.”
Finishing Details That Matter
- Grout choice: Match for seamless, contrast for graphic. FYI, high contrast emphasizes every line.
- Caulk the changes of plane: Corners, counter joints, and where tile meets trim need flexible caulk.
- Outlet planning: Use spacers and low-profile covers to keep trims sitting flush.
Style Pairings That Just Work
- Modern: Schluter strips, mitered edges, painted metal angles.
- Classic: Bullnose, pencil liners, ceramic chair rail.
- Warm/Organic: Wood trim, quarter-round, mosaic borders with stone and glass.
- Luxury Statement: Stone slab edges, mitered corners, metal in brass or black.
Installation Mini-Checklist
- Dry-fit all trim before spreading adhesive—surprises are for birthdays, not grout day.
- Check level and plumb constantly; edges exaggerate uneven lines.
- Seal natural stone and porous trims before grouting to prevent stains.
- Make your paint touch-ups the absolute last step for crisp lines.
Quick “What To Shop For” Recap
- Metal edge profiles in finishes to match hardware
- Bullnose, pencil liner, quarter-round, and chair rail trim pieces
- Mosaic border sheets and color-matched grout
- Wood trim (pre-finished), sealers, and paintable caulk
- Stone or quartz slabs if going full luxe
Bottom line: A finished edge is the difference between “nice tile” and “who did your kitchen?” Choose a trim that suits your style and the architecture, and commit to clean lines. Your backsplash will instantly look designer-level polished, IMO.
FAQs
Q: Do I have to use trim if my tile has a finished edge?
A: Not always. Some tiles have glazed sides that look fine exposed. But trims protect corners, hide cut edges, and add intention—so they’re worth it for a truly finished look.
Q: What’s the easiest DIY-friendly trim?
A: Metal edge profiles and bullnose are the most forgiving. They’re straightforward to align and don’t require perfect cuts like mitered corners do.
Q: Should the trim match my fixtures or my tile?
A: Either works. Matching fixtures (like matte black or brass) gives a cohesive, modern vibe. Matching tile color or material blends in for a quieter, seamless finish. Choose based on whether you want the edge to pop or disappear.
You’ve got this. Pick your edge, grab your grout, and give that backsplash the frame it deserves.
Shop the Look on Amazon
Disclosure: As an Amazon Associate, this site may earn from qualifying purchases.
These product categories fit this article and give readers an easy next step when they are ready to shop.
- Modern trim — Clean, durable edges matching hardware finishes.
- Classic finish — Rounded edges for seamless, polished terminations.
- Subtle border — Slim trim to frame and define backsplash edges.
- Soft edge — Curved profile suits traditional and cottage styles.
- Minimal edge — Paintable L-angle for discreet, protective finish.
One Comment
Comments are closed.