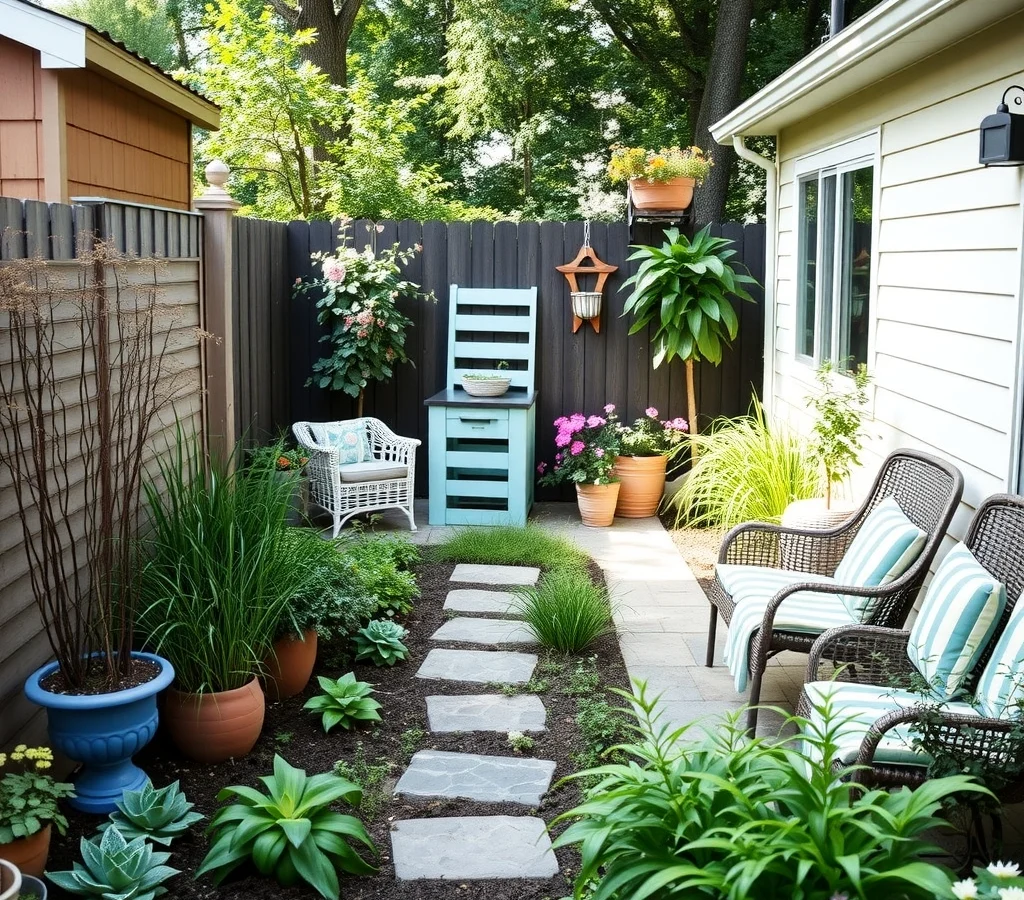
Budget‑friendly Garden Border Ideas for a Neat and Colorful Yard

When the lawn starts to look like a blank canvas, the first thing most homeowners notice is the lack of definition around flower beds, vegetable patches, and walkways. A well‑planned border does more than keep mulch from spilling onto the driveway; it creates a visual cue that separates spaces, adds texture, and invites you to linger. The good news is that you don’t need a professional landscaper or a hefty budget to achieve a polished look. Below are seven practical ideas that blend affordability with style, each explained with enough detail to let you picture the finished result and start planning right away.
1. Reclaimed Brick or Paver Edging
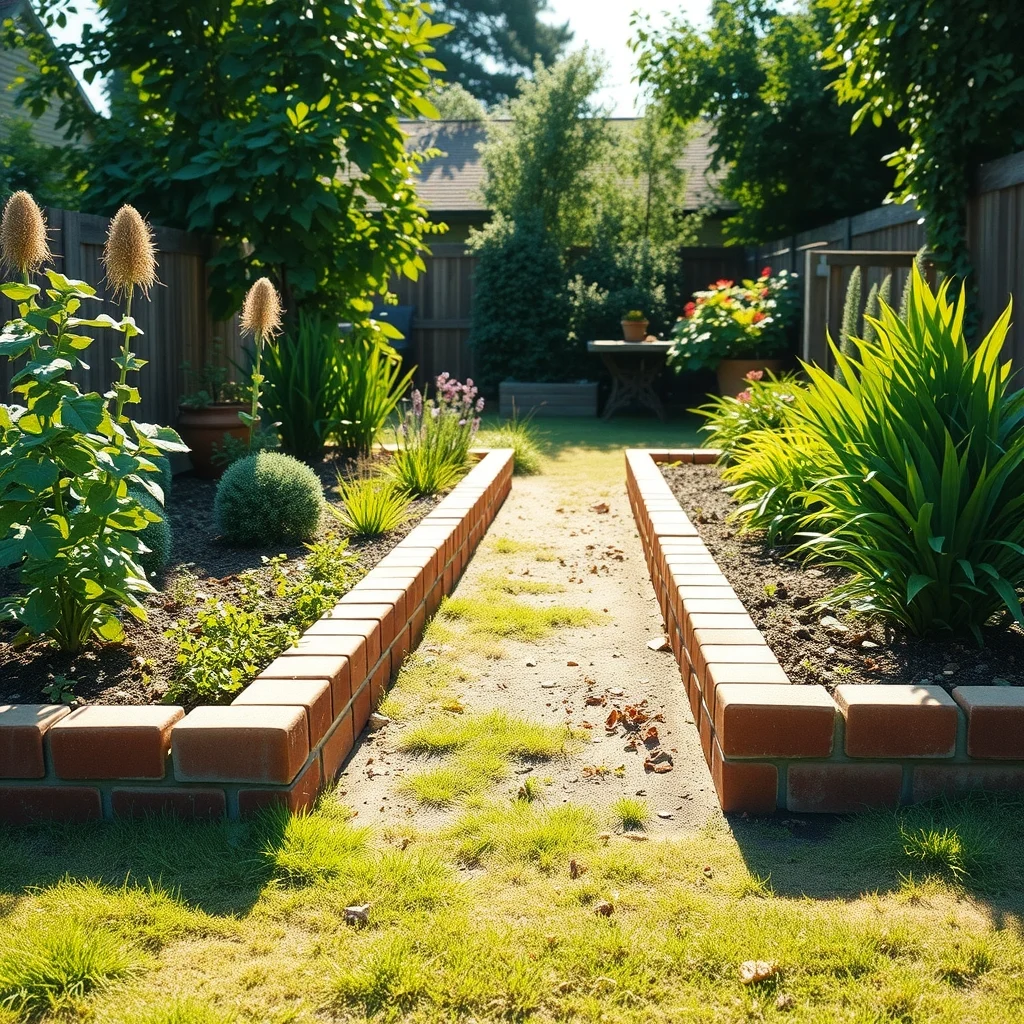
Old bricks salvaged from demolition sites or inexpensive pavers found at a local salvage yard make an immediate impact. Laid end‑to‑end, they form a low, sturdy line that clearly marks the edge of a planting area while echoing the texture of traditional garden walls. Because bricks are heavy, they stay in place without additional anchoring, which reduces the need for extra hardware. When you choose a warm, weathered red or a soft tan, the color naturally complements most plant palettes, allowing the foliage to become the star.
Installation is straightforward: dig a shallow trench about two inches deep, set the bricks level with the soil surface, and backfill with a mix of sand and topsoil to lock them in. A quick tap with a rubber mallet ensures a snug fit. The main trade‑off is that bricks can become slippery when wet, so if the border will be walked on, consider adding a thin strip of landscape fabric beneath the stones for extra grip. Over time, the mortar‑less design allows water to seep through, preventing pooling and keeping the border low‑maintenance.
2. Low‑Maintenance Groundcover Strips
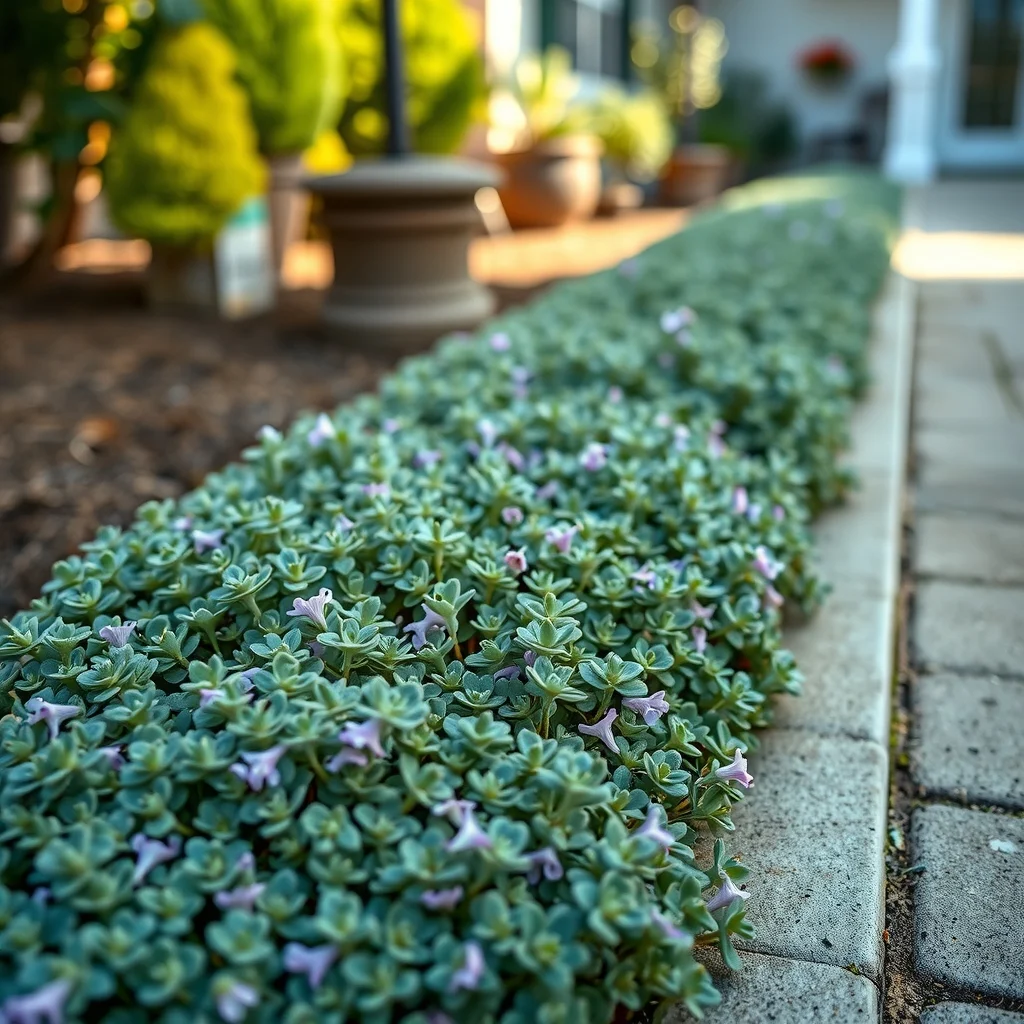
Instead of a hard edge, a narrow band of groundcover can serve as a living border that softens transitions while staying inexpensive. Varieties such as creeping thyme, sedum, or dwarf mondo grass spread quickly, creating a carpet of foliage that tolerates foot traffic and occasional drought. Their foliage comes in shades ranging from silvery‑gray to deep green, and many produce tiny flowers that add subtle color in spring or summer.
To install, define a strip one to two feet wide along the desired line, loosen the soil, and scatter the seedlings or plugs evenly. Lightly press them into the soil and water thoroughly. Because these plants root shallowly, a light layer of mulch helps retain moisture without smothering the growth. The downside is that groundcover can invade adjacent beds if not kept in check, so a periodic trim with garden shears is advisable. When the season changes, the foliage often turns a muted bronze, providing a gentle visual cue that the garden is shifting.
3. Mulched Pathways with Colorful Accents
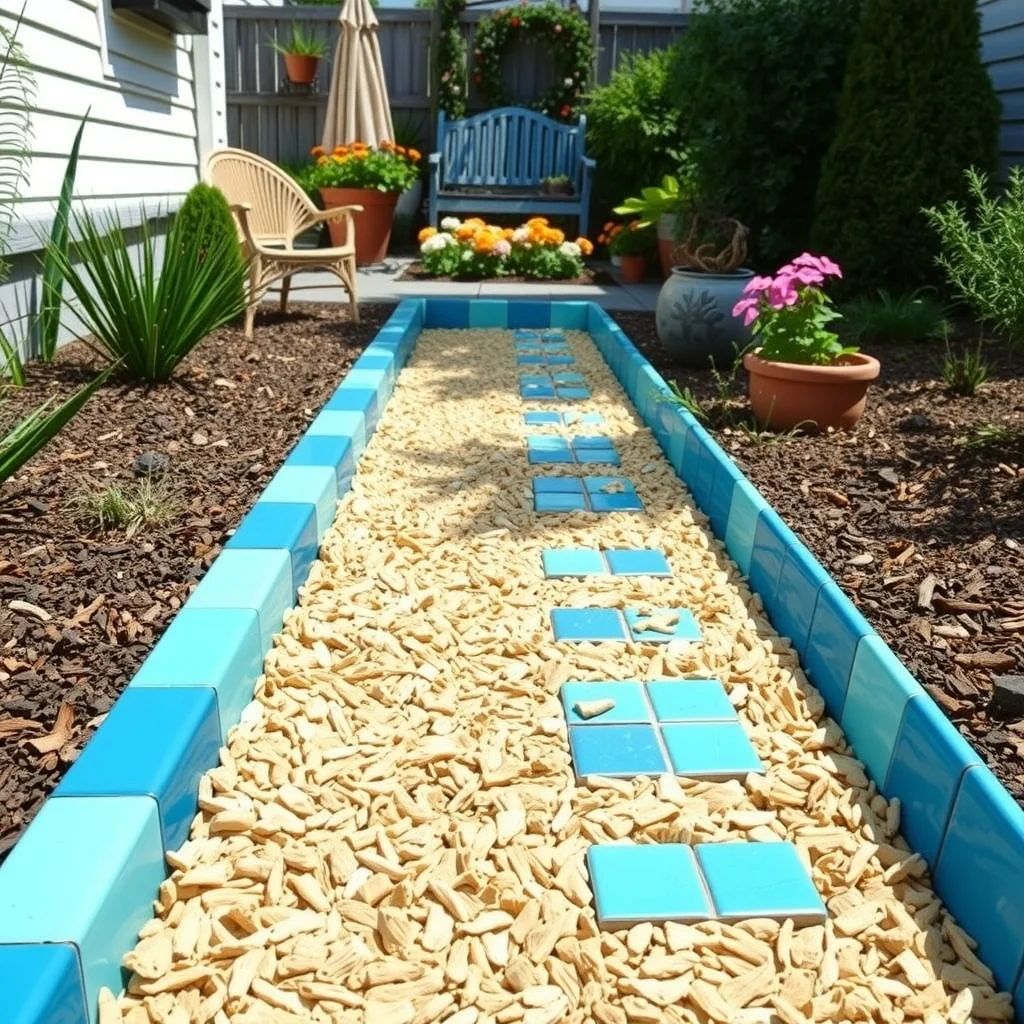
A simple mulch pathway can double as a border when you introduce a contrasting color or material at the edges. Choose a natural wood‑chip or shredded bark mulch for the main strip, then line the sides with a narrow band of dyed mulch, crushed shell, or even a row of small, flat stones. The contrast draws the eye and defines the path without the need for raised edging.
The key to longevity is regular replenishment. As the mulch breaks down, it settles and loses its color, so a top‑up every spring keeps the border looking fresh. If you opt for dyed mulch, be aware that it may fade faster in direct sunlight, which is a modest trade‑off for the vibrant look it provides initially. Adding a low‑voltage LED strip along the edge can extend usability into evening hours, casting a soft glow that highlights the border without overwhelming the garden’s natural ambiance.
4. Simple Raised Bed Borders Using Recycled Wood
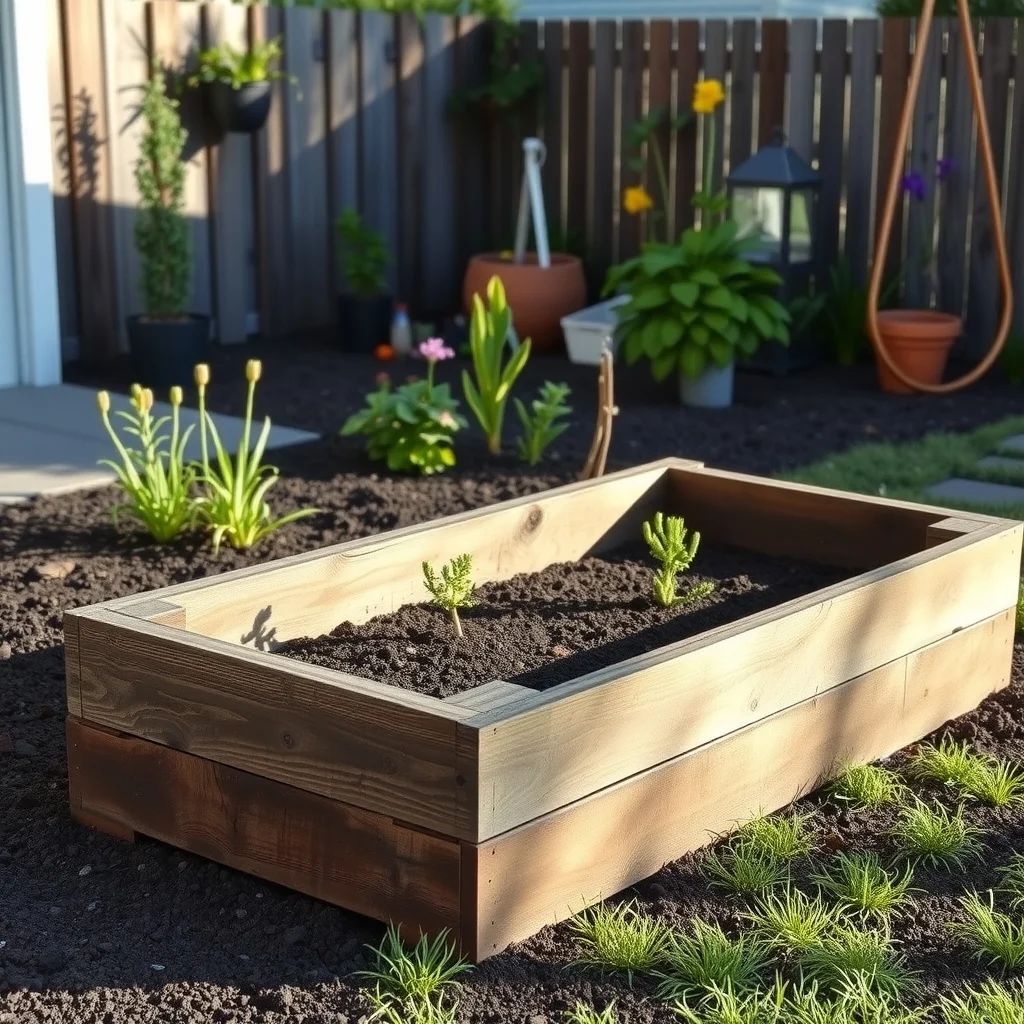
Recycled lumber, such as pallets or reclaimed fence posts, can be assembled into a low raised‑bed frame that doubles as a border. A height of six to eight inches is enough to contain soil while still allowing easy access for planting. The wood’s natural grain adds warmth, and a light sealant protects against rot without obscuring the texture.
Measure the perimeter of the area you wish to define, cut the boards to length, and secure them with galvanized screws or corner brackets. Fill the frame with a blend of compost and garden soil, then plant perennials or herbs along the top edge for a cascading effect. Because wood expands and contracts with moisture, it’s wise to leave a small gap between boards for ventilation. The primary limitation is that untreated wood may deteriorate after several seasons, so budgeting for a re‑seal or replacement every few years keeps the border looking tidy.
5. Decorative Metal or Vinyl Stakes
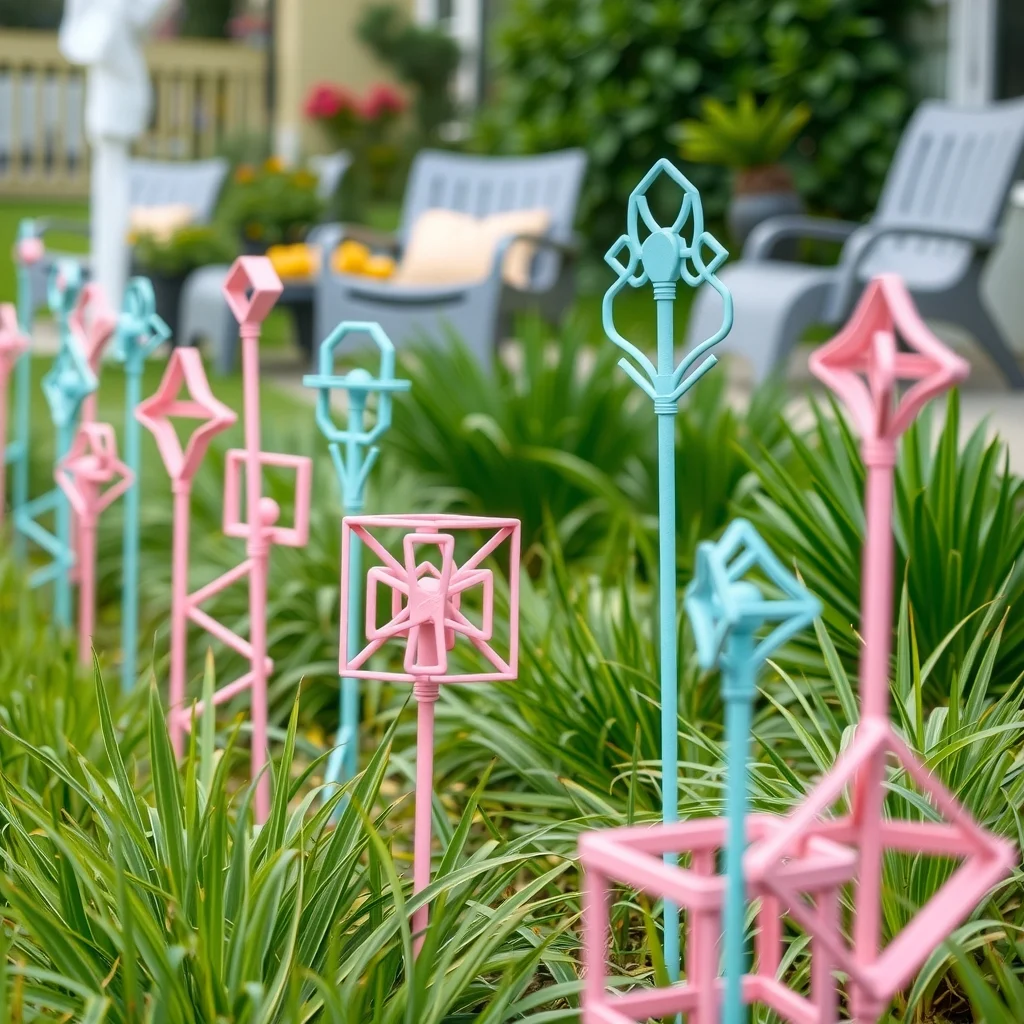
Metal or vinyl garden stakes offer a lightweight, decorative solution that can be moved as your planting scheme evolves. Available in simple geometric shapes, stylized leaves, or even subtle animal silhouettes, these stakes add a hint of personality without dominating the space. A dark powder‑coated metal stake, for example, creates a sleek line that contrasts nicely with bright green foliage.
Installation is as easy as pushing the stake into the soil at regular intervals—typically every two to three feet—along the desired border line. For added stability in softer ground, a small dab of garden cement can be applied to the base. The main advantage is flexibility; you can rearrange the stakes seasonally or replace them as your garden matures. However, vinyl stakes may become brittle in extreme cold, so storing them indoors during harsh winters can extend their life.
6. Seasonal Flower Borders in Containers
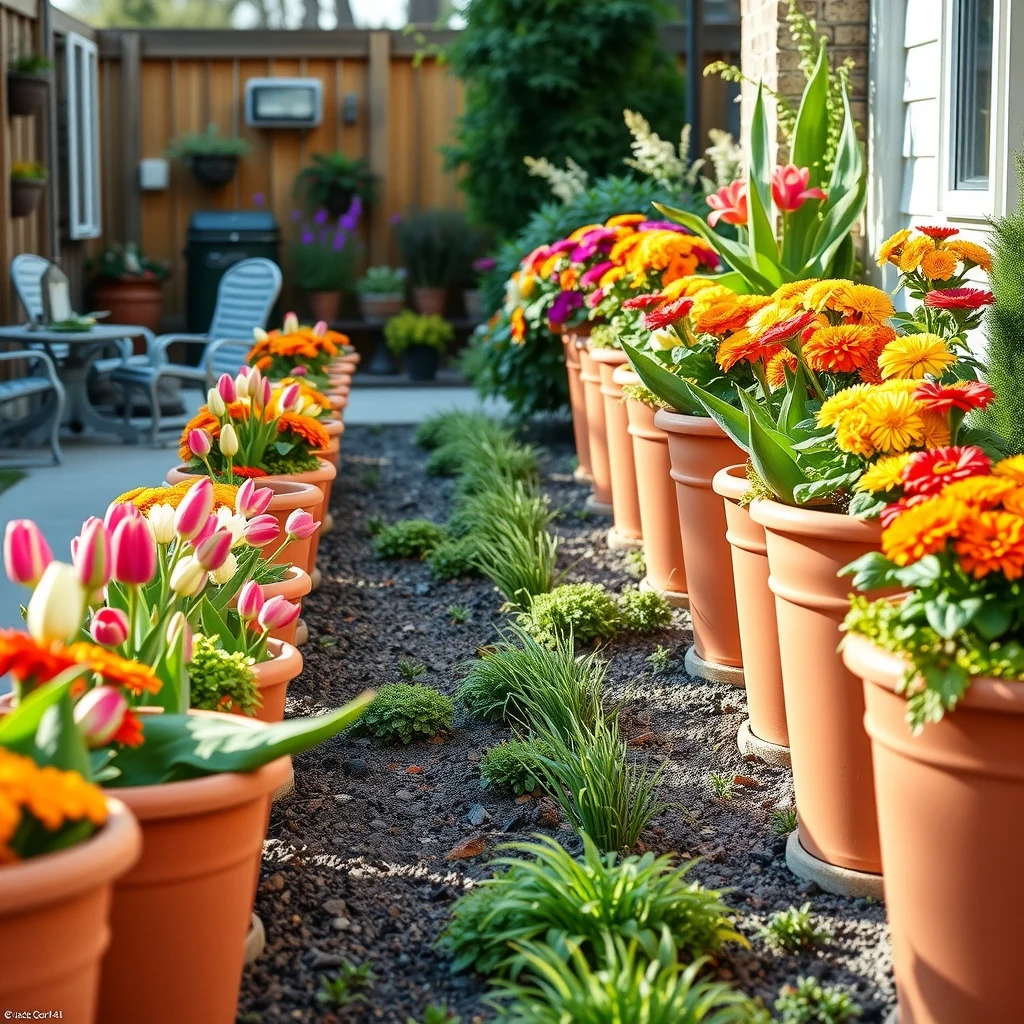
When you want color that changes throughout the year, consider placing a series of small containers along a pathway or garden edge. Choose inexpensive plastic or terracotta pots in uniform sizes, and arrange them in a staggered line. Fill each with a mix of annuals that bloom at different times—think pansies for early spring, marigolds for summer, and mums for fall.
The containers keep the soil contained, reducing the need for edging material, and they can be swapped out as the seasons shift. To keep the look cohesive, select a neutral pot color like slate gray or muted terracotta, allowing the flowers to stand out. A practical concern is drainage; ensure each pot has a hole at the bottom and place a shallow saucer to catch excess water. While the recurring cost of new annuals adds up, buying seeds in bulk and transplanting seedlings can keep the budget under control.
7. Natural Stone or River Rock Borders
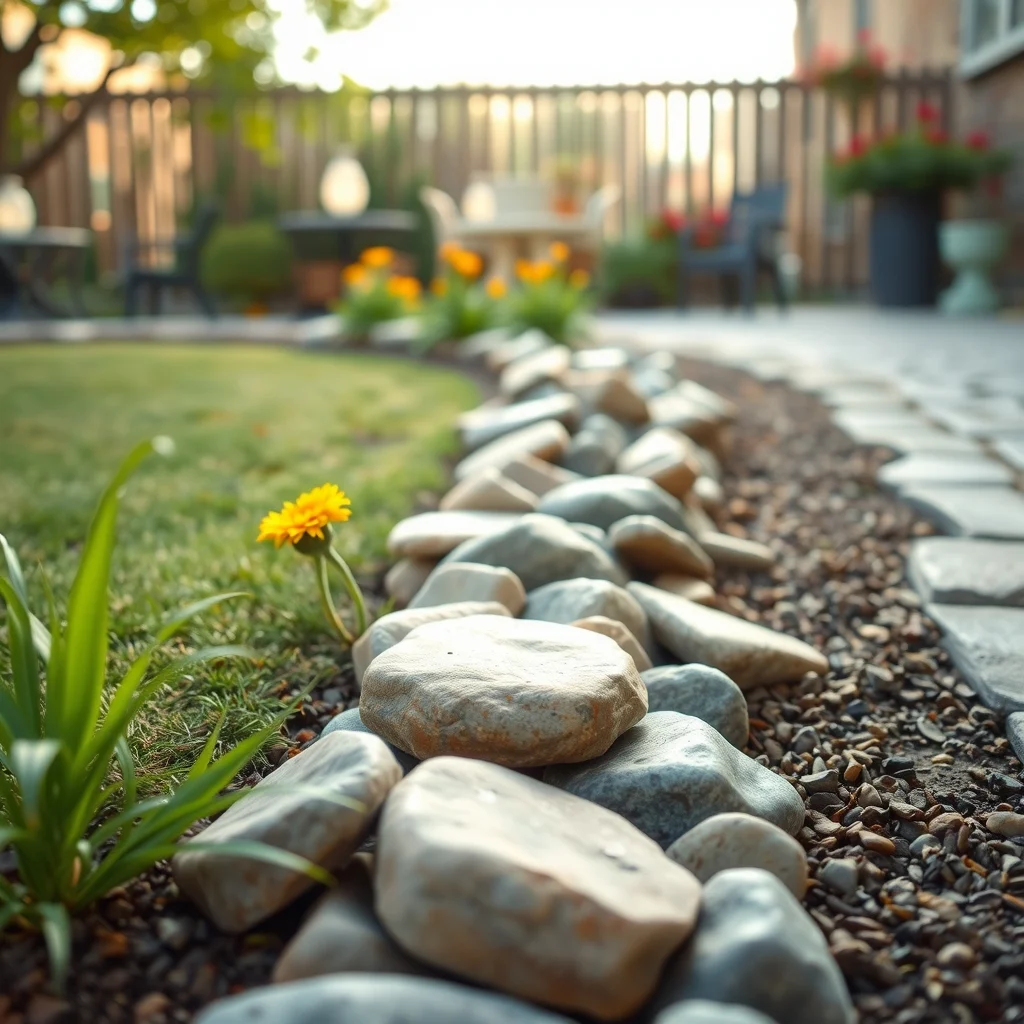
Collecting smooth river rocks from a local stream or purchasing a bag of decorative stone offers a rustic border that feels grounded. Laid in a single‑layer line, the stones create a subtle, tactile edge that blends with both formal and informal garden styles. The natural variation in size and hue adds visual interest without the need for additional ornamentation.
Prepare a shallow trench, spread a thin layer of sand, and press the stones into place, leaving a small gap between each for drainage. Over time, moss may begin to grow between the rocks, enhancing the organic feel—a pleasant trade‑off for those who enjoy a slightly wild aesthetic. The primary drawback is that larger stones can be cumbersome to move, so plan the layout carefully before laying them down. For added safety on a foot traffic path, choose stones with rounded edges to prevent trips.
Frequently Asked Questions
How wide should a garden border be?
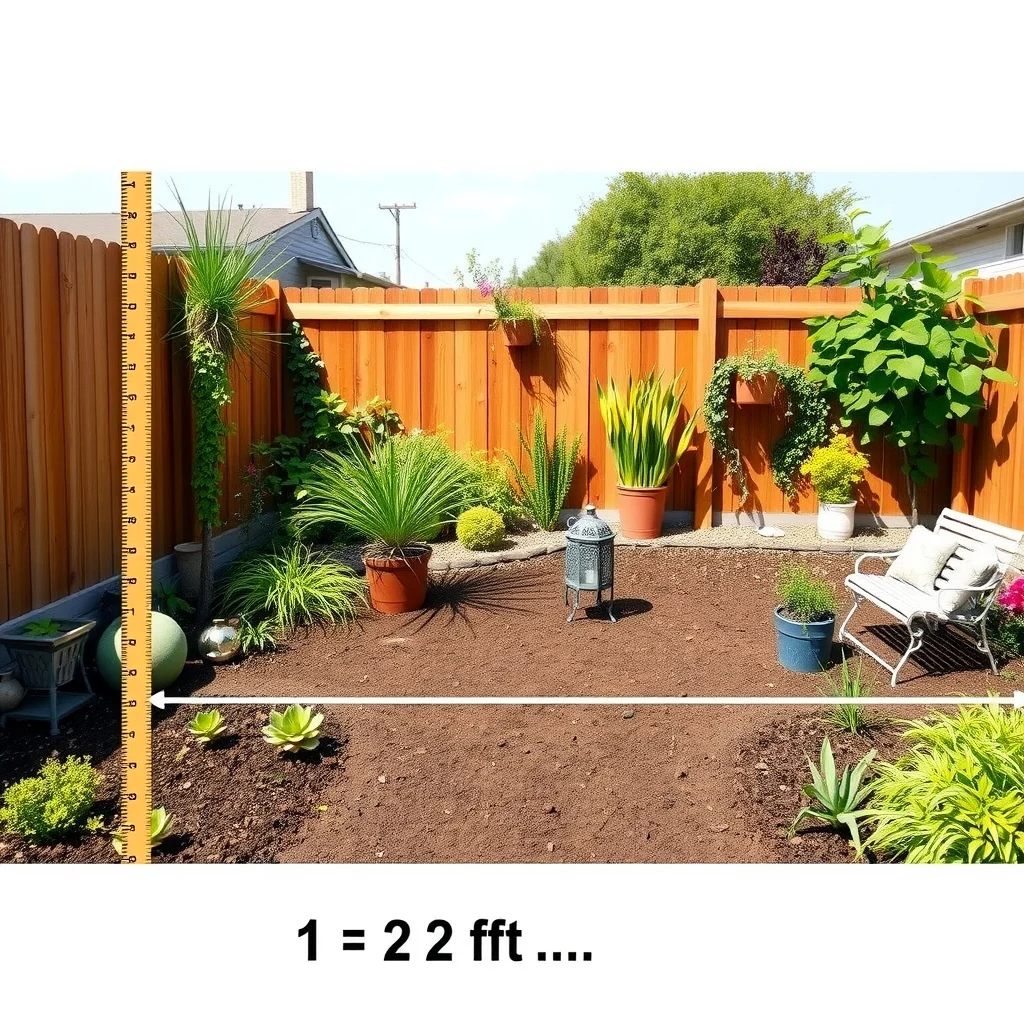
A border that is one to two feet wide works well for most residential yards, providing enough space for planting or edging material without overwhelming the surrounding landscape.
Can I combine different border materials?
Yes, mixing materials such as brick with groundcover or stone with metal stakes can add texture and visual depth, as long as the transition between them is smooth and the heights are compatible.
What plants work best for low‑maintenance borders?
Plants like creeping thyme, sedum, dwarf mondo grass, and ornamental grasses thrive with minimal watering and infrequent pruning, making them ideal for borders that you want to set and forget.
How do I keep a border looking tidy through the year?
Regularly remove spent foliage, replenish mulch or stone as needed, and trim any invasive groundcover. A quick sweep with a garden brush each season helps maintain a crisp appearance.
Is it safe to use reclaimed wood near a vegetable garden?
Reclaimed wood that has been pressure‑treated with modern, low‑toxicity preservatives is generally safe, but avoid using wood that may have been exposed to chemicals or heavy paint when growing edibles.
Final Thoughts
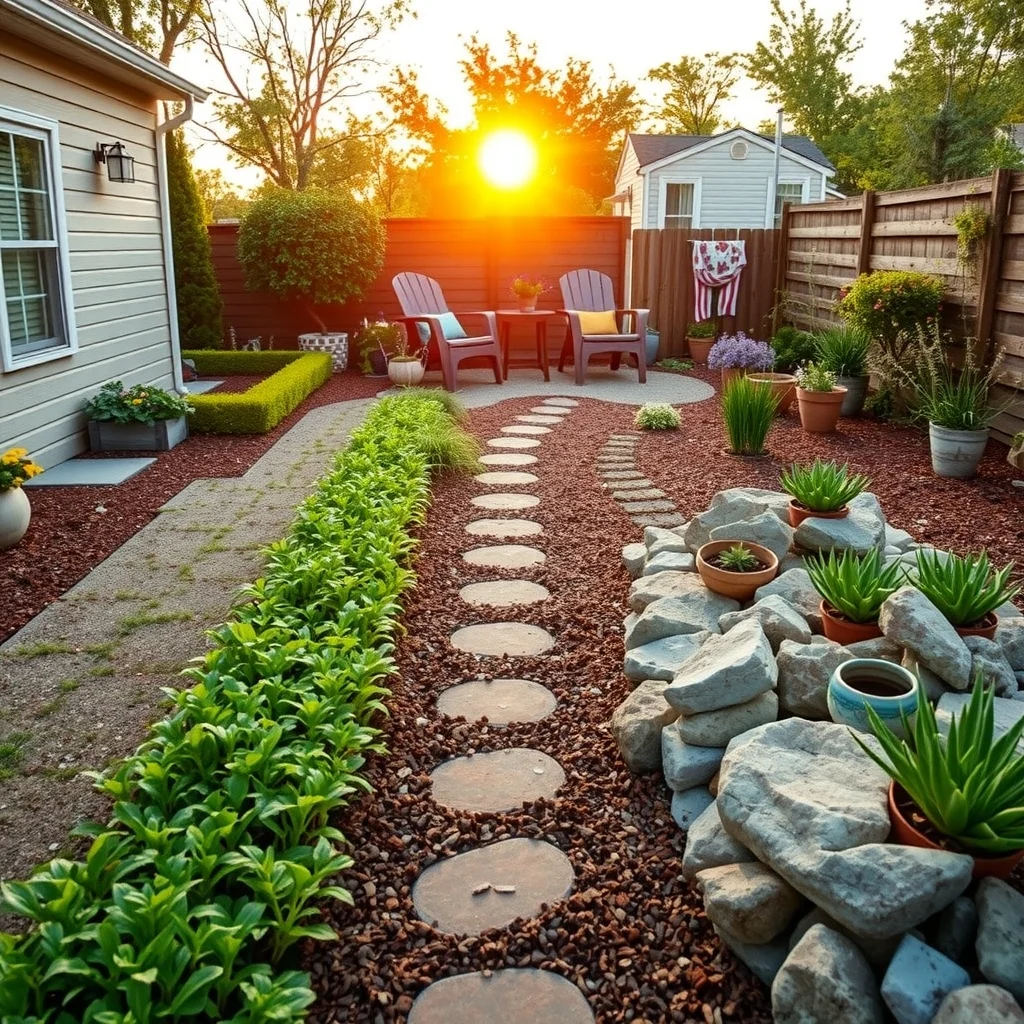
Creating a defined, colorful garden border does not require a large investment; it simply calls for a clear vision and a few thoughtful choices. Whether you favor the permanence of brick, the softness of groundcover, or the flexibility of movable stakes, each option offers a way to organize space, enhance curb appeal, and invite enjoyment. By considering material durability, maintenance requirements, and how the border interacts with light and plantings, you can select the solution that fits your budget and aesthetic. A well‑executed border turns a simple yard into a cohesive outdoor room—one that welcomes you home every time you step outside.