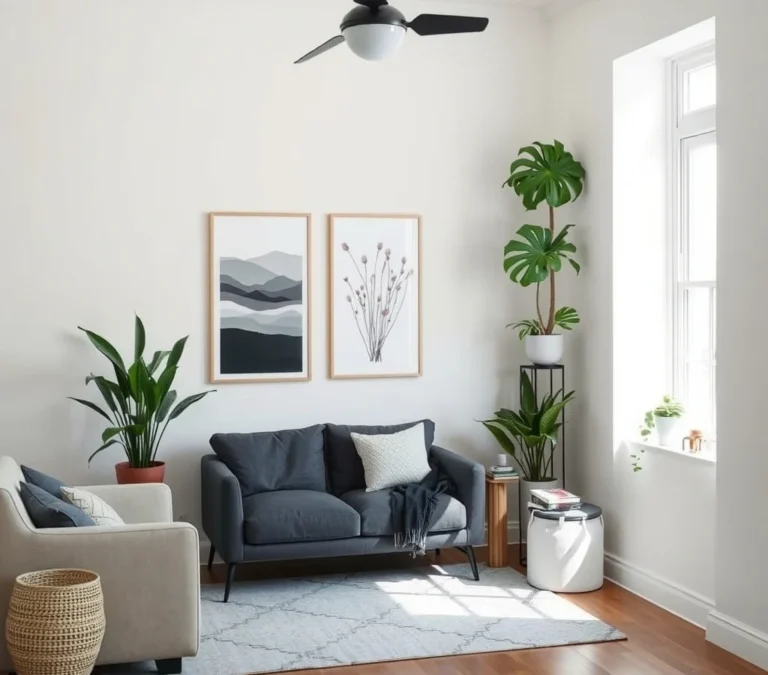
Limewash Wall Paint Ideas for a Soft and Natural Interior
Limewash gives walls a gentle, chalky look that feels calm and earthy. It works well in rooms where you want light, texture, and a hint of history without heavy paint.
Before you start, gather a limewash kit, a good quality primer, a wide‑brush, a stir stick, and sandpaper. You’ll also need drop cloths, painter’s tape, and a bucket for mixing.
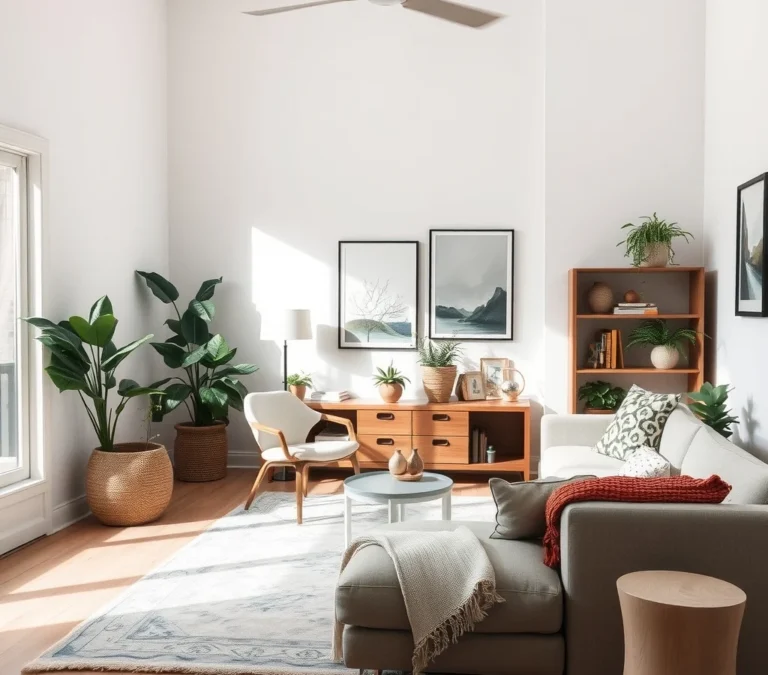
1. Soft White Limewash in the Living Room
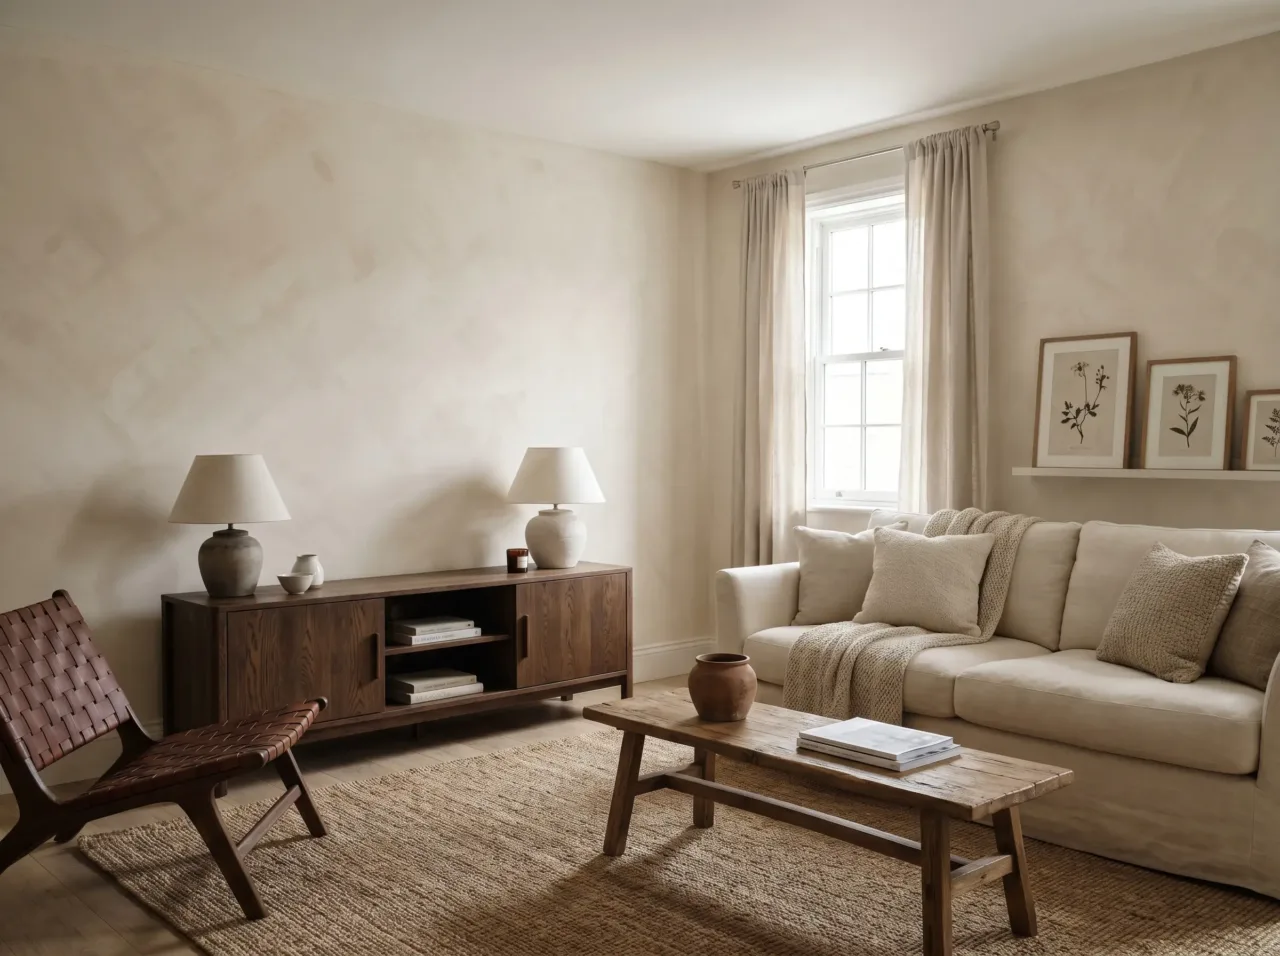
The wall looks like a quiet cloud that lets natural light glide across the room. Soft white keeps the space feeling open and pairs well with a gray sofa and a natural‑woven rug.
First, clean the wall and sand any rough spots. Then apply a thin coat of primer and let it dry fully.
Next, mix the limewash to a milk‑like consistency and brush it on in smooth strokes. Work from the top down and keep each coat thin; two or three coats give the best depth.
One tip: limewash can take longer to dry than regular paint, so plan for a full day before moving furniture back.
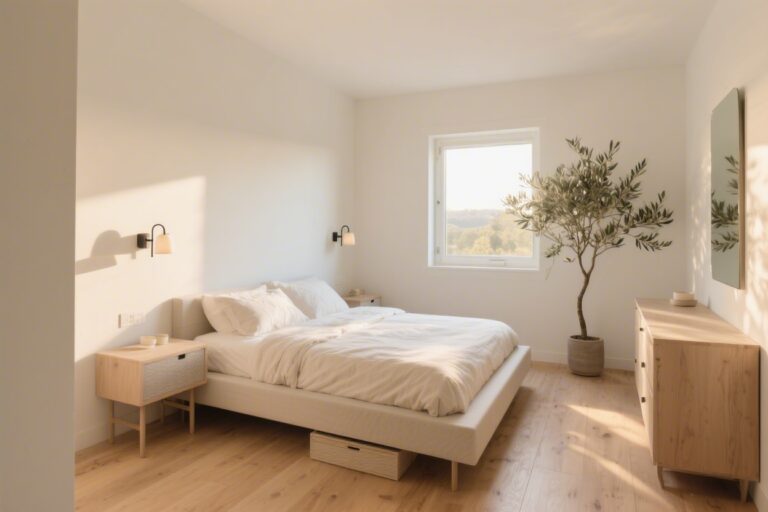
2. Warm Greige Limewash in the Bedroom
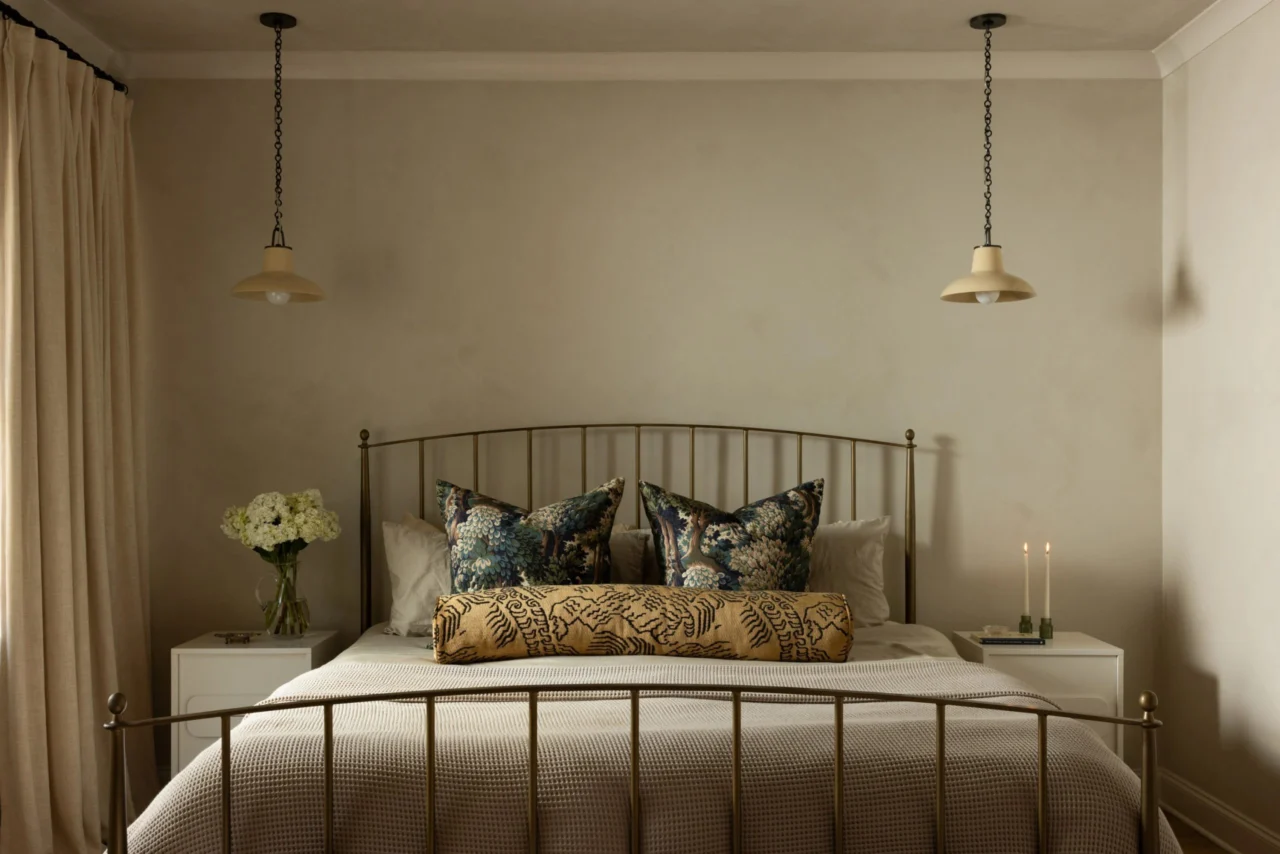
The color reads as a warm gray‑beige that feels cozy but not dark. It works nicely with a linen duvet, walnut nightstands, and soft amber lighting.
Start by testing a small patch to see how the shade settles on your wall’s surface. If the tone is too cool, add a touch of earth pigment to the mix.
Apply the limewash with a wide roller for even coverage, then smooth out any brush marks with a damp sponge. Finish with a light sanded coat to keep the texture subtle.
Remember that greige can show dust more than pure white, so you may need to dust the walls regularly.
3. Light Sage Limewash in the Kitchen
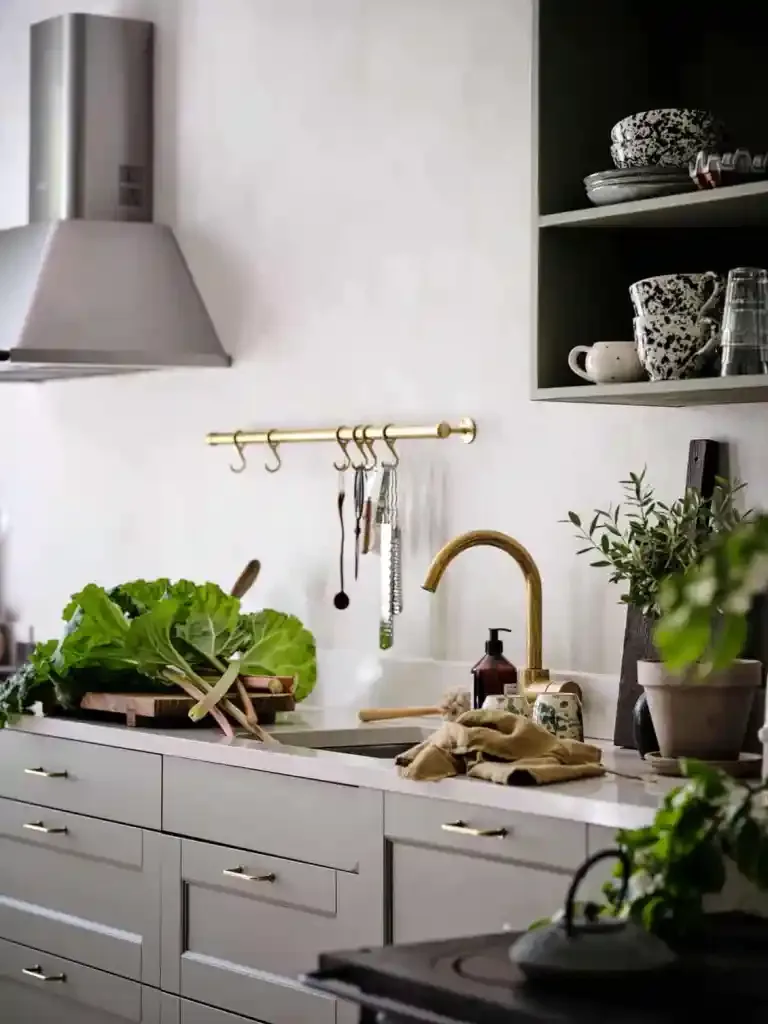
This hue feels like a fresh herb garden, giving the kitchen a clean, natural vibe. Light sage matches well with white cabinets, open shelving, and copper cookware.
Begin by sealing any backsplash tiles and cleaning the walls to remove grease. Use a moisture‑resistant primer to protect the limewash.
When you paint, work in sections and keep the brush wet to avoid streaks. A final thin coat will help the color stay even near the stove.
Be aware that limewash can absorb kitchen steam, so you might need to touch up the wall every few years.
4. Dusty Terracotta Limewash in the Hallway
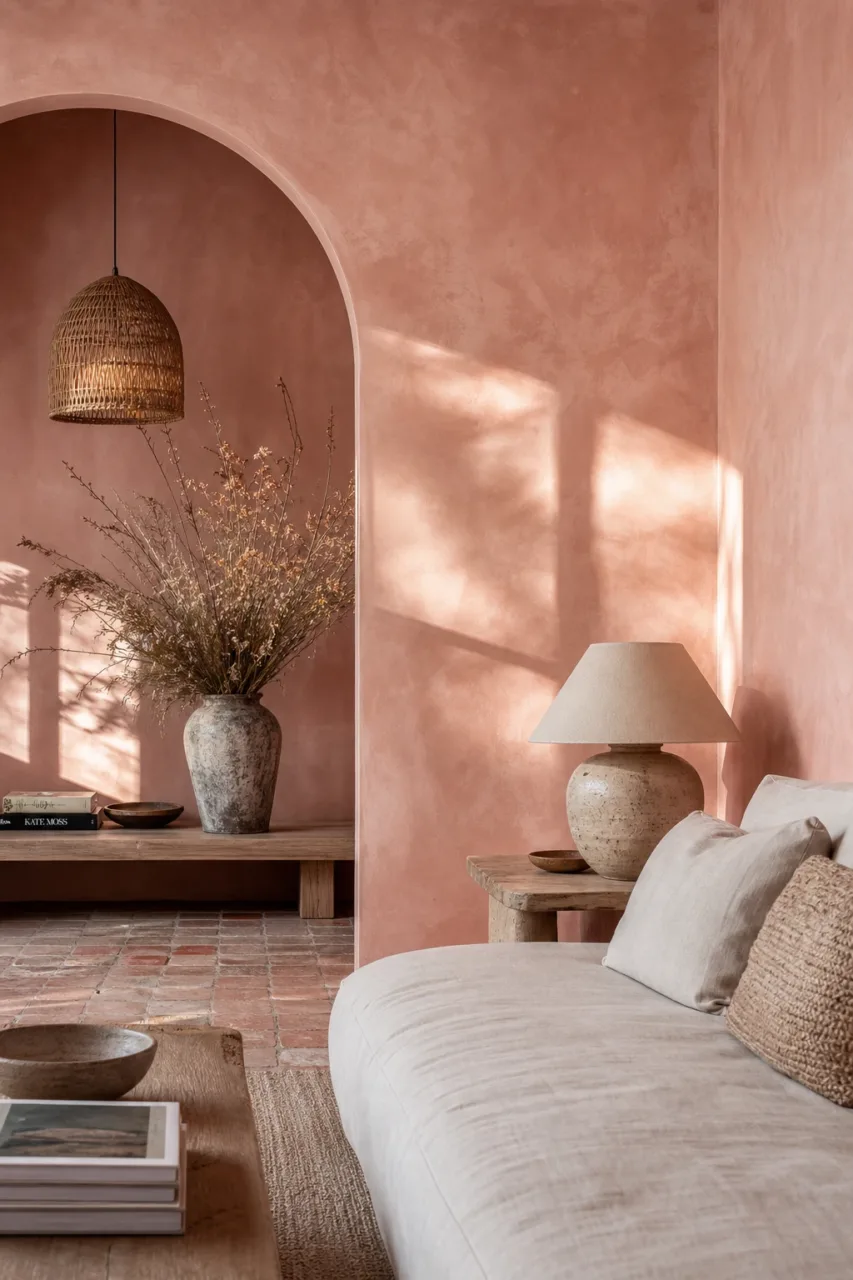
The wall takes on a soft, earthy orange that adds warmth to a narrow corridor. It pairs well with a reclaimed‑wood console and simple black‑metal wall hooks.
First, repair any cracks and apply a primer that matches the wall’s texture. Let the primer dry completely before mixing the limewash.
Apply the terracotta mix in long, even strokes, watching for any drips near door frames. A second light coat will deepen the color without making it too bold.
Terracotta can show scuffs from shoes, so a low‑sheen clear sealant can protect high‑traffic spots.
5. Pale Sky Blue Limewash in the Bathroom
The shade feels like a clear sky, making the bathroom feel larger and more relaxed. It works with white fixtures, bamboo towels, and a woven basket for toiletries.
Start by installing a proper vapor barrier behind the wall to keep moisture away from the limewash. Then prime with a mold‑resistant product.
Mix the limewash with a little water for a smooth flow, then brush it on gently. Two thin coats give a soft blue that still lets light bounce around.
Because bathrooms are humid, the blue may fade faster, so you may need to refresh the paint every few years.
6. Creamy Oat Limewash in the Dining Room
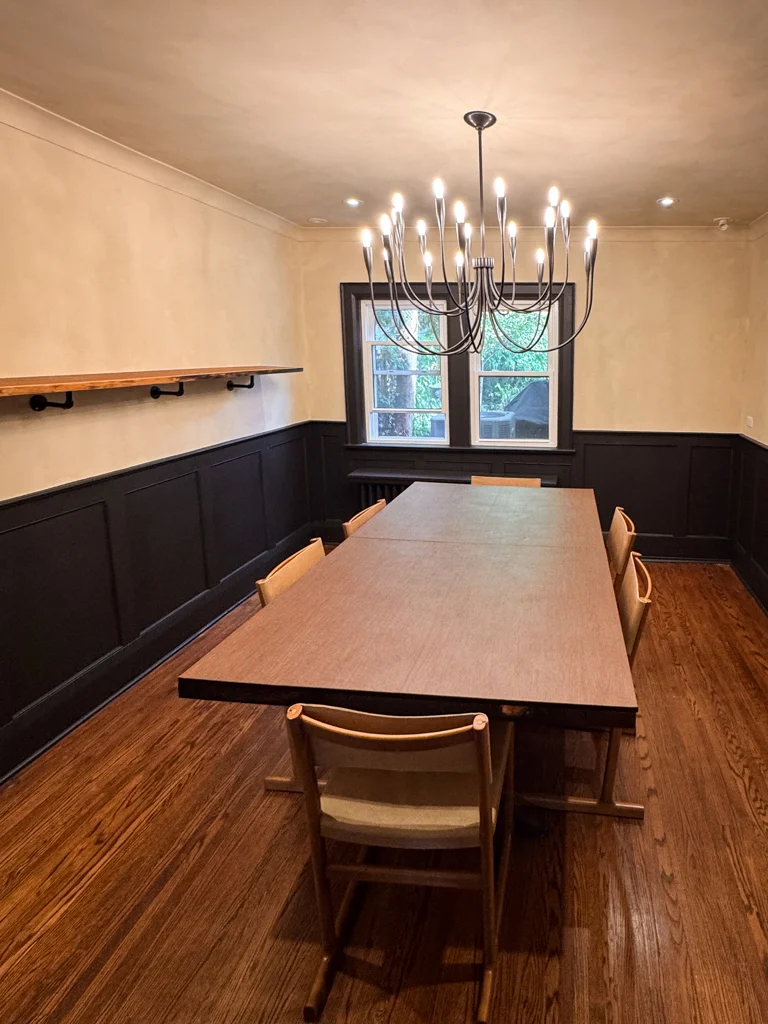
The wall looks like warm oatmeal, creating a welcoming backdrop for meals. It matches a solid oak table, linen napkins, and brass candle holders.
First, clean the wall and sand any glossy spots. Apply a primer that helps the limewash stick to the surface.
Use a wide brush to spread the creamy mix, working from the center out. A final light sanding after the last coat keeps the texture soft.
One downside is that the oat tone can look dull under harsh lighting, so add a warm pendant lamp for balance.
7. Subtle Blush Pink Limewash in the Nursery
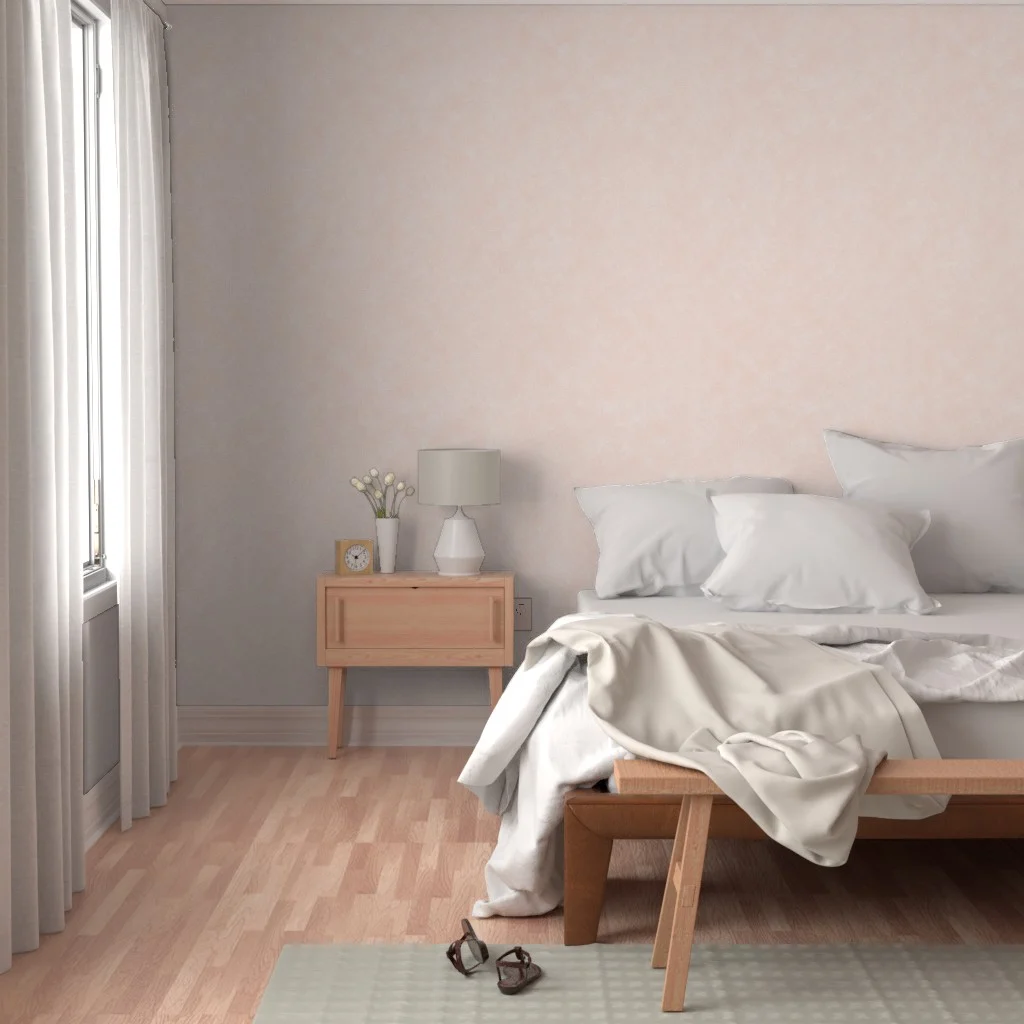
The color feels like a gentle rose, giving the room a calm and sweet feel. It pairs with white crib, natural wood toys, and soft gray curtains.
Begin by checking the wall for any cracks and fixing them with filler. Prime with a low‑odor product to keep the air safe for a baby.
Apply the pink limewash with a small brush for better control around the ceiling line. Two thin coats will give a delicate hue without overwhelming the space.
Blush pink can show fingerprints easily, so a washable sealant will help keep the wall looking fresh.
How long does limewash take to dry?
Limewash usually feels dry to the touch after 4–6 hours. Full curing can take up to 48 hours, depending on humidity.
Can I use limewash on drywall?
Yes, limewash works on drywall if you apply a proper primer first. The primer helps the limewash bond and prevents cracking.
Do I need special tools for limewash?
A wide brush or roller and a stir stick are enough for most projects. A bucket with a lid keeps the mix from drying out.
Is limewash safe for kids and pets?
Natural limewash is low in VOCs and generally safe once it’s fully cured. Keep the room ventilated while it dries.
How many coats of limewash should I apply?
Two to three thin coats give the best color depth and durability. Thicker coats can lead to uneven drying and cracks.