
Garden Seating Ideas for Relaxing Outdoors You’ll Actually Use

Your yard looks promising but never gets used. The chairs feel awkward, the layout ignores footpaths, and your “relaxing corner” turns into a clutter magnet. You want a spot that pulls you outside after work and works for both solo coffee and weekend guests. This guide will help you decide what to buy, how to lay it out, which materials last, and which common mistakes to skip—so your garden finally becomes the place you imagined.
Quick Answer: If you only do one thing this weekend, choose a seating idea sized to your space and light conditions, add shade (umbrella, pergola, or tree), place furniture on a stable base (pavers, gravel, or a weatherproof rug on decking), and layer two comforts—cushions and a table for drinks. Avoid oversized sets that trap traffic flow and fabrics that aren’t UV- or mildew-resistant.
© 2025 AI Illustrator — Inspiration Only
| Idea | Best For | Budget Level | Mistake To Avoid |
|---|---|---|---|
| 1. Bistro Nook | Small patios, balconies | $–$$ | Chairs too large for door clearance |
| 2. Lounge Zone | Reading, sunbathing | $$–$$$ | No shade or side table |
| 3. Built-In Bench | Edges, awkward corners | $$–$$$$ | Not leaving 18–24 in. for knees |
| 4. Dining Under String Lights | Dinners, game nights | $$–$$$ | Table too big for walkways |
| 5. Fire Pit Ring | Evening gatherings | $–$$$ | Combustible chairs too close to flame |
| 6. Hammock/Daybed Corner | Nap zone, reading | $–$$$ | Mounting to weak supports |
| 7. Covered Pergola Lounge | All-weather use | $$$–$$$$ | Underestimating sun/rain direction |
1) Create A Bistro Nook Where Nothing Else Fits
© 2025 AI Illustrator — Inspiration Only
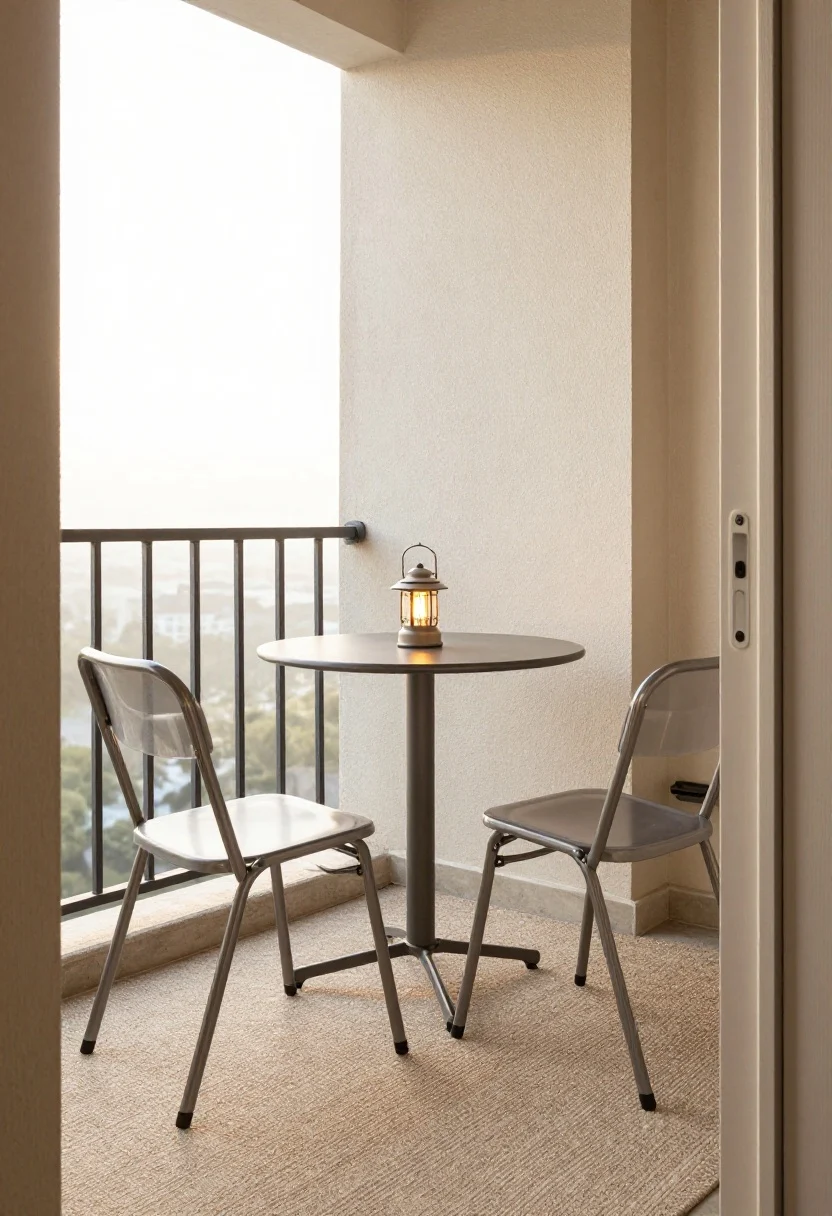
Problem: You have a narrow patio or a balcony that only collects plant pots and random shoes, but you dream of morning coffee outdoors.
Why it works: A small bistro set respects scale and traffic flow. Two slim chairs and a 24–28-inch round table allow doors to open and still leave knee and bag space. The compact circle avoids visual clutter and fits in tight footprints better than rectangles.
- Measure clearance: keep 30–36 inches from door swing to chair backs and 12–18 inches from table edge to railing or wall.
- Choose a foldable or stackable set in powder-coated steel or aluminum; add slim cushions in solution-dyed acrylic fabric.
- Anchor the vignette with a 3’x5’ outdoor rug (low pile, polypropylene) to define the zone and hide patchy decking.
- Layer a small lantern with a warm 2700K outdoor LED and one planter at table height to soften hard edges.
Mistake to avoid: Buying café chairs with deep seats; seat depths over 18 inches eat precious inches and feel crowded against railings.
Budget note: Quality bistro sets start around $120–$300; skip heavy stone tops (they’re gorgeous but overkill for small balconies and strain railings during moves). This compact setup also sets the tone for larger seating later if you expand.
2) Carve Out A Lounge Zone That Feels Like A Living Room
© 2025 AI Illustrator — Inspiration Only
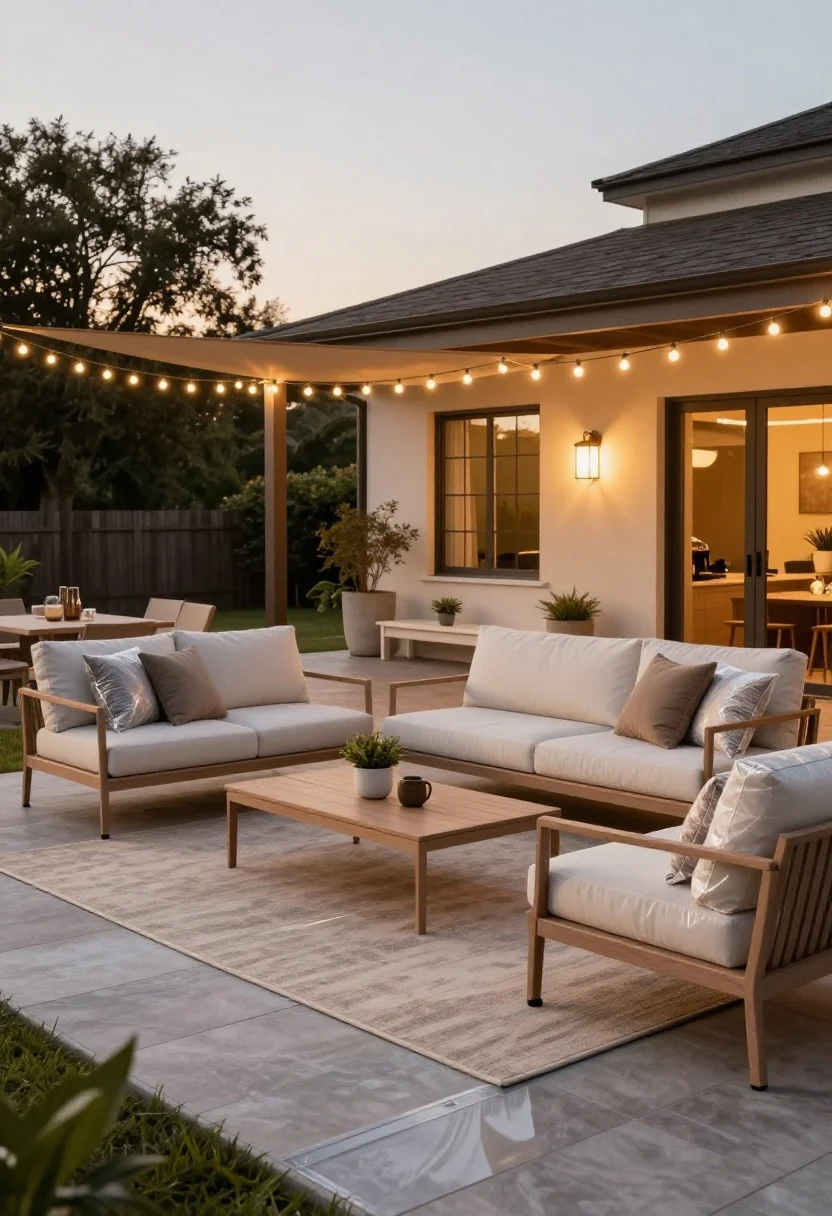
Problem: You have space, but your chairs float aimlessly, so nobody sinks in for more than five minutes.
Why it works: A defined lounge area creates a focal point and works with layout. Low-profile seating plus a coffee table replicates living room comfort, and a rug unites the pieces so the arrangement feels intentional, not random.
- Pick a loveseat plus two lounge chairs or a sectional sized to leave a 36-inch walkway. Coffee table should be two-thirds the sofa length.
- Use a 5’x8’ or 6’x9’ outdoor rug so front legs of all pieces sit on it—this stabilizes the group visually and keeps chairs from sliding.
- Add layered lighting: one wall sconce or stake light at 2700K and a string light overhead for ambient wash; avoid cool blue LEDs outdoors.
- Upgrade cushions to quick-dry foam with solution-dyed acrylic covers; choose zippered, washable cases and store in a deck box during storms.
Budget note: Aluminum frames with powder coating beat bargain steel in damp climates. If teak is out of budget, acacia can work if you accept more frequent oiling. Place rubber furniture feet to protect decking and avoid rust stains on pavers.
This lounge logic—unified rug, table within reach, layered lighting—translates well when you add dining nearby.
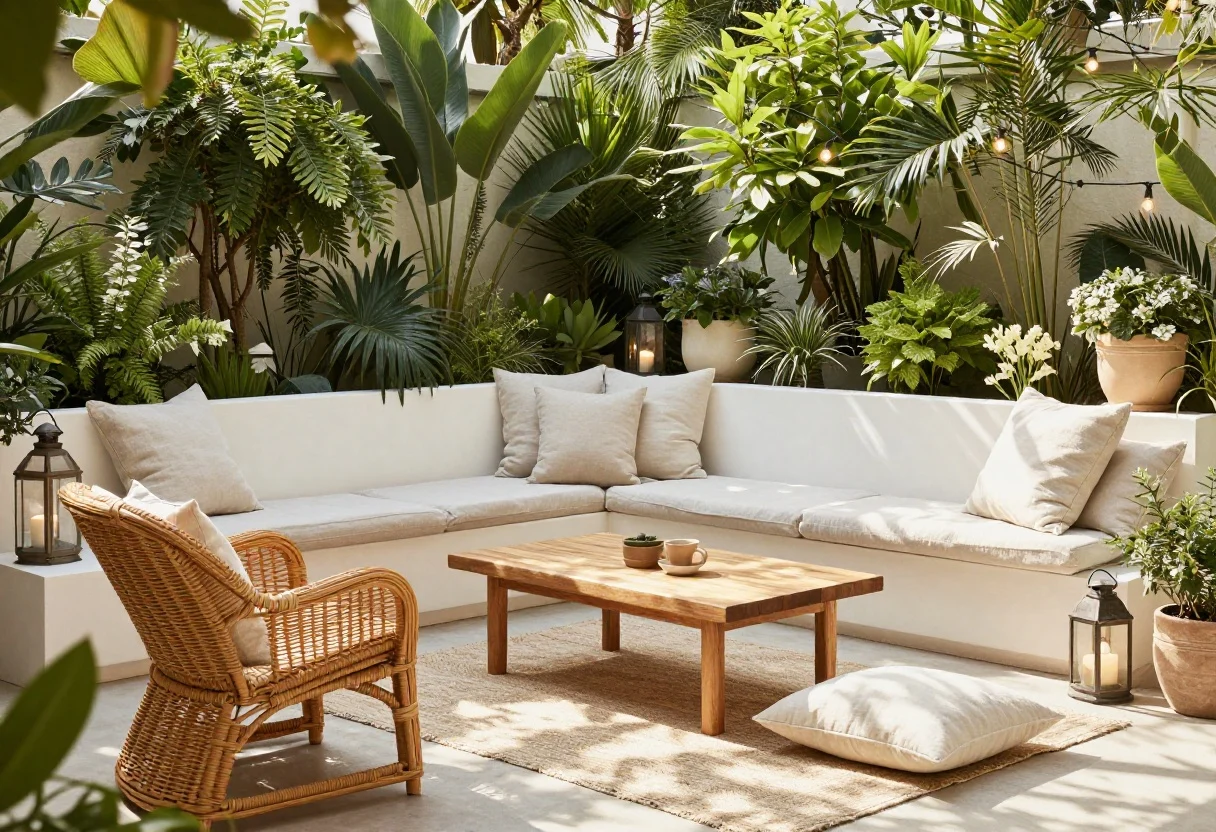
3) Build A Bench Into Awkward Edges To Save Space
© 2025 AI Illustrator — Inspiration Only

Problem: Your patio edges are dead space. Standard chairs block a path or stare too close at a fence.
Why it works: A built-in bench uses layout and storage to turn tight perimeters into seating without sacrificing walkways. Continuous lines calm busy gardens and allow more people to sit versus multiple chair legs cluttering the ground.
- Plan a bench 17–19 inches high and 16–18 inches deep; leave 18–24 inches to the table edge for knees if you’ll dine there.
- Choose materials that match your hardscape: cedar, composite decking, or masonry with wood caps; use concealed brackets for clean lines.
- Consider a hinged seat for cushion storage; use stainless or galvanized hardware and leave ventilation gaps to prevent mildew.
- Add 3–4-inch-thick outdoor cushions with ties or nonslip pads; opt for medium-density foam so it dries faster.
Mistake to avoid: Skipping back support. A slight 5–10° recline or a 4–6-inch back cushion makes the difference between “perch” and “linger.”
Budget note: A straight 8–10-foot cedar bench often costs less than four sturdy outdoor chairs and feels less crowded. Once that edge is solved, you can anchor a proper dining table without blocking traffic.
4) Eat Under String Lights Without Tripping Over Chair Legs
© 2025 AI Illustrator — Inspiration Only
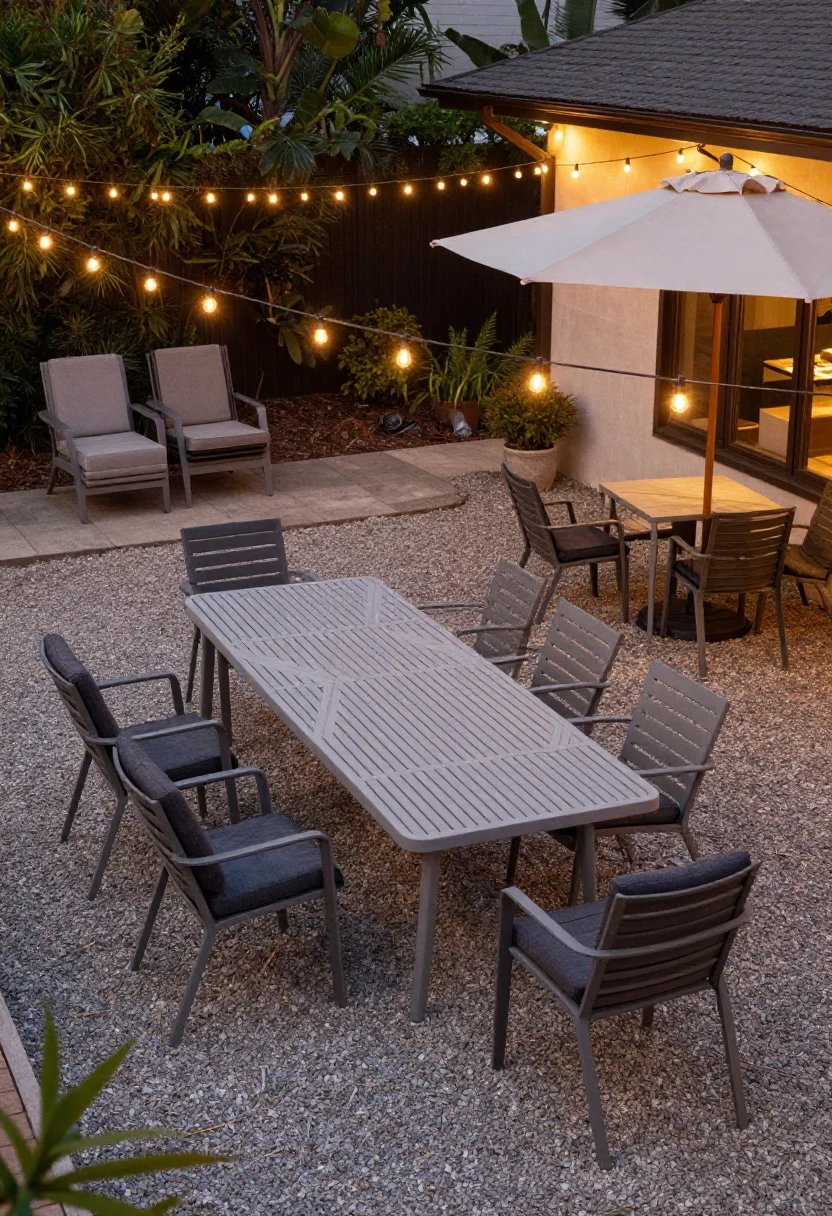
Problem: Outdoor dining sounds great until chairs scrape gravel, plates wobble, and everyone bumps into the grill.
Why it works: A well-planned dining zone respects traffic flow, lighting, and texture. Hard-wearing surfaces keep chairs level, while warm overhead lighting makes food look good and invites longer meals.
- Choose a table 72–84 inches for six to eight seats; leave 36–48 inches from table edge to any obstacle so chairs slide easily.
- Stabilize the base: use pavers, composite decking, or compacted gravel with a tamper and edging; skip deep pea gravel under dining chairs.
- Hang string lights in a triangle or zigzag pattern at 9–11 feet high using posts or house attachment points; use UL-listed, weather-rated strands at 2700K.
- Mix chairs: stackable armchairs at the ends, armless along the sides; add two washable seat pads in darker colors to hide spills.
Common mistake: An umbrella that doesn’t cover the whole table. Aim for a canopy 2 feet wider than the table’s diameter or width; weight the base to 50–75 lbs depending on size.
Budget note: If teak tables stretch the budget, look for powder-coated aluminum with a slatted top—it won’t warp and dries fast. After dinner, this same stable base works for card games or laptop time with a mug warmer.
5) Gather Safely Around A Fire Pit That Still Fits Small Yards
© 2025 AI Illustrator — Inspiration Only
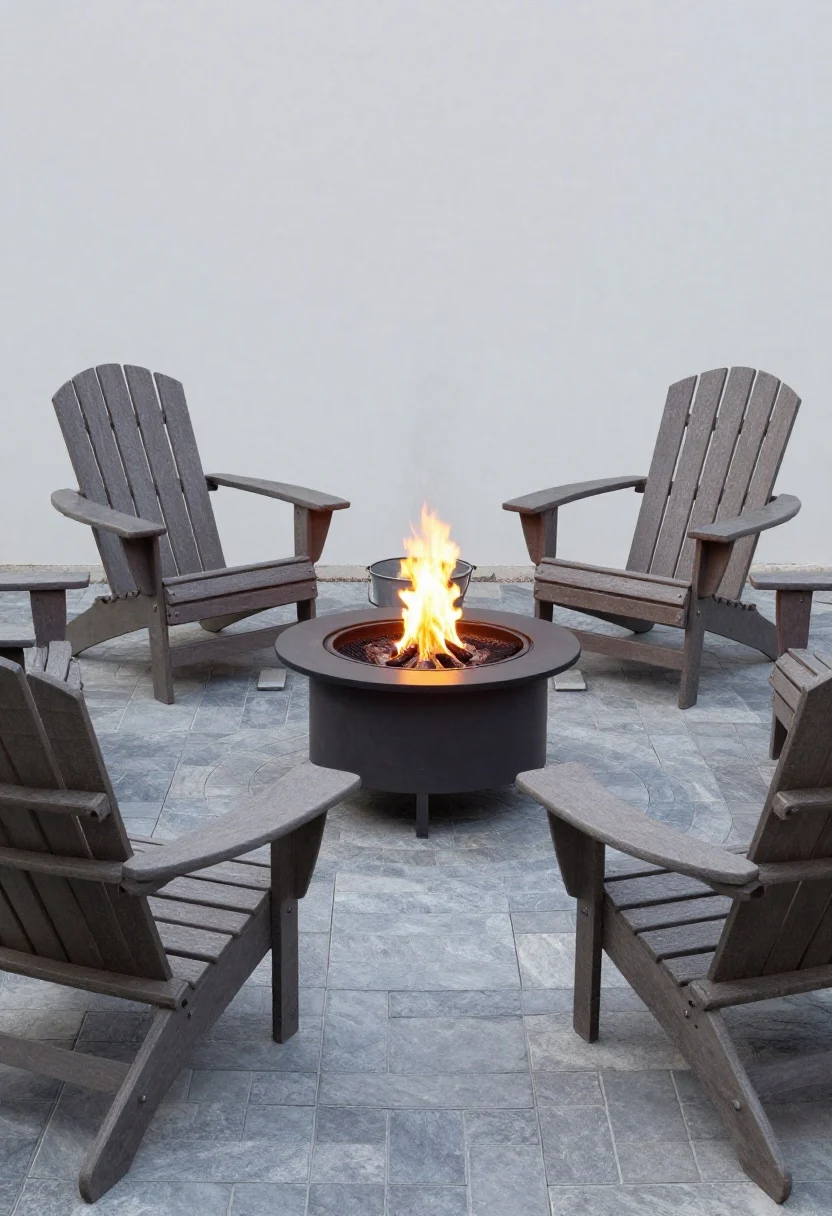
Problem: You bought a fire pit, but seating is too far, smoke chases everyone, and marshmallows end up in the mulch.
Why it works: A fire feature demands careful layout and focal point. Circular seating encourages conversation and keeps everyone at a comfortable distance, while material choices matter for safety and cleaning.
- Pick the pit: 24–30 inches for small yards, 36–42 for group settings. Leave 24–36 inches from pit edge to seat edge.
- Surface: use stone, pavers, or compacted decomposed granite; avoid wood decking under wood-burning pits. A heat shield is mandatory over composite.
- Chairs: low-slung Adirondacks or sling chairs with 100% solution-dyed acrylic or PVC-coated mesh—no fluffy polyester near sparks.
- Wind and smoke: orient the main opening away from prevailing winds; consider a smokeless stainless insert if neighbors are close.
Mistake to avoid: Storing firewood under the seating—invites pests and becomes kindling. Keep a spark screen and a bucket of sand nearby.
Budget note: Propane fire tables cost more initially ($250–$1000) but are HOA-friendly, cleaner, and safer for renters. This evening focal point pairs nicely with a nearby hammock zone for late-night cool-downs.
6) Steal A Shady Corner For A Hammock Or Daybed
© 2025 AI Illustrator — Inspiration Only
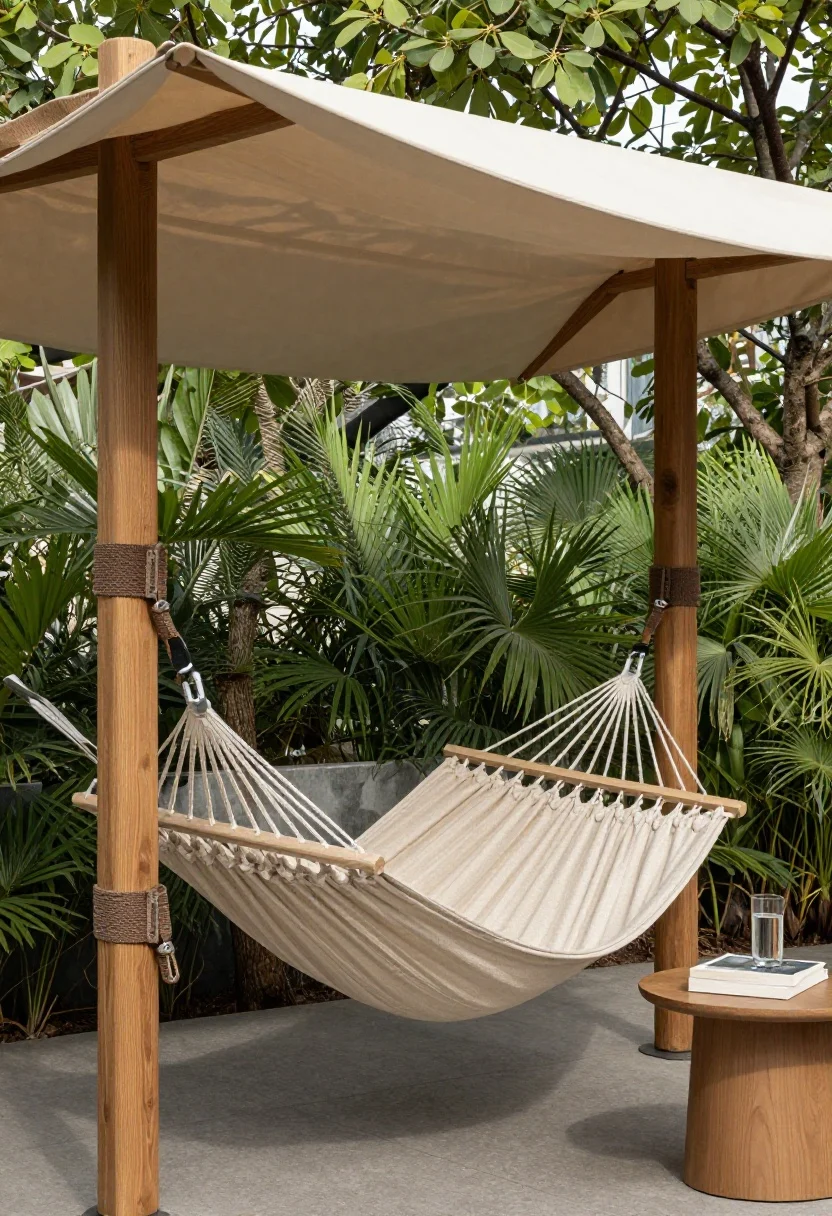
Problem: Your sunniest patio scorches by noon, but a side yard is breezy and ignored.
Why it works: A hammock or daybed exploits microclimate and texture. Soft fabric contrasts with foliage, and low, horizontal forms visually widen narrow spaces. Suspended seating signals “rest,” not “work.”
- Pick your style: gathered-end hammock for small spaces, spreader-bar hammock for flatter lounging, or a freestanding frame for renters.
- Mounting: confirm supports (posts or trees) are at least 6 inches diameter hardwoods; use rated hardware and tree straps to protect bark.
- Angles: hang with a 30° suspension angle; the seat height should be 18–20 inches off the ground when occupied.
- Layer shade: clip-on canopy, shade sail, or an offset umbrella; add a small side table at 18–22 inches high for a book and water.
Common mistake: Mounting into hollow siding or weak pergola beams. Use through-bolts to structural posts, never just screws into fascia boards.
Budget note: Fabric matters. Solution-dyed acrylic resists fading; cotton feels great but mildews fast. A freestanding steel frame with a polyester rope hammock is a solid under-$200 starter. This slow corner pairs well with a nearby bistro set for quick coffee breaks.
7) Add A Covered Pergola Lounge For All-Weather Use
© 2025 AI Illustrator — Inspiration Only
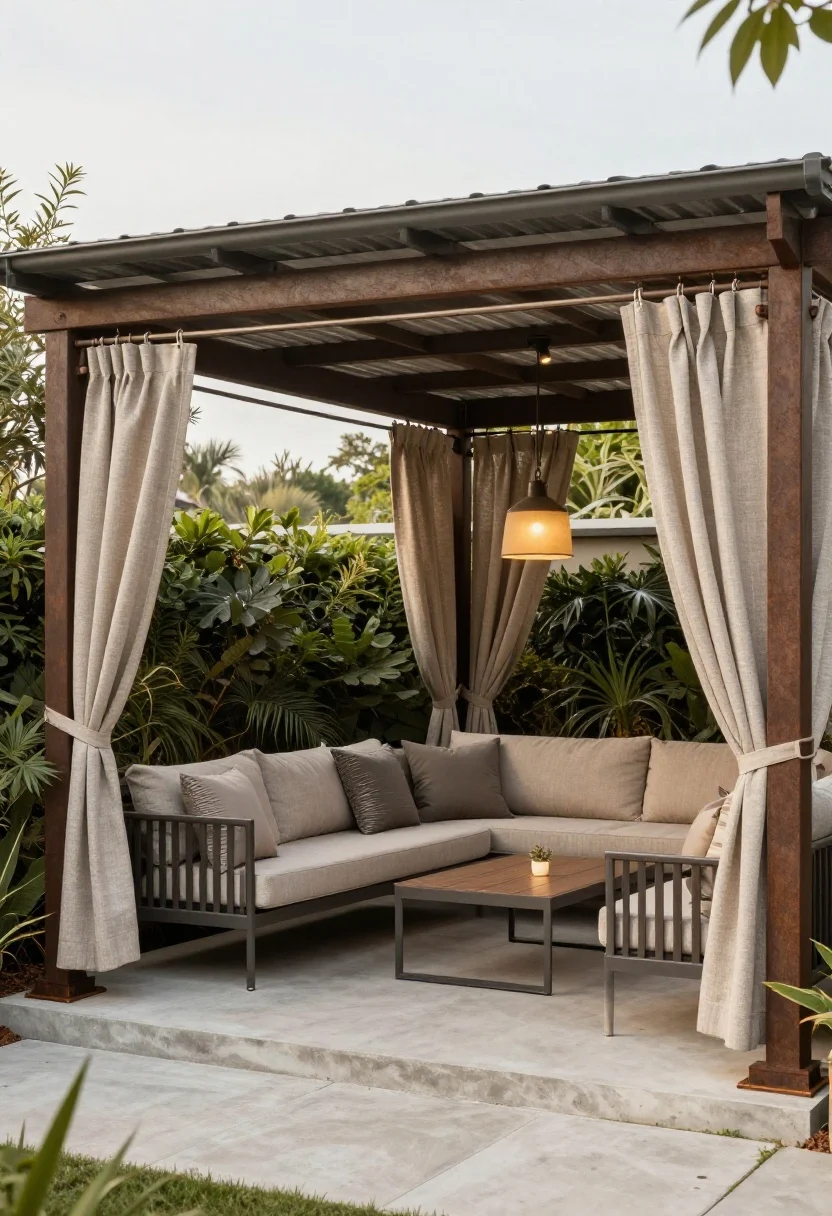
Problem: You love the idea of outdoor time, but unexpected rain sends everyone inside and cushions never fully dry.
Why it works: A pergola with a retractable canopy or polycarbonate roof balances lighting, color balance, and furniture scale. Shade keeps fabrics cool, and overhead structure frames the seating as an outdoor room.
- Size it right: minimum 10’x10’ for a loveseat, two chairs, and a coffee table; keep 36 inches clear at edges for circulation.
- Roofing: for flexible shade, choose a retractable canopy; for rain, consider tinted polycarbonate panels with UV protection and guttering.
- Privacy and color: hang outdoor curtains 1–2 inches above beam height; use rust-resistant curtain rods and tiebacks; pick earthy solids that won’t blink in sunlight.
- Power and light: outdoor-rated outlets, a dimmable 2700K pendant, and pathway lights at ankle height to avoid glare.
Mistake to avoid: Underestimating wind load. Anchor posts below frost line or to steel post bases on concrete; cheap surface anchors fail quickly.
Budget note: A well-built pergola often costs less than replacing ruined cushions yearly. Once installed, it makes lounge or dining setups feel usable in shoulder seasons.
What To Buy / What To Skip
- Buy: Solution-dyed acrylic cushions; powder-coated aluminum frames; polypropylene outdoor rugs; 2700K string lights; deck boxes with ventilation; rubber feet pads; neutral base fabrics with removable covers.
- Skip: Indoor foam outside; steel frames without rust protection near sprinklers; too-small umbrellas; deep-pile rugs that trap water; overly heavy stone tables on balconies; cool-white (5000K) lighting that flattens skin tones at night.
Common Mistakes That Tank Outdoor Seating
- Buying sets instead of measuring: furniture scale must suit your footprint; leave 36 inches for walkways.
- Forgetting shade: even premium cushions feel unusable in direct midday sun; always plan a shade layer.
- Ignoring drainage: rugs and cushions mildew on flat, non-draining slabs; add rug pads and slope 1/8 inch per foot away from the house.
- One-height surfaces: without side tables at 18–22 inches or a coffee table at 16–18 inches, people stand to place drinks.
- Monotone textures: pair woven, metal, and wood to avoid a “catalog set” look; add one living layer—herbs or grasses—at seat height.
Budget-Friendly Alternatives That Still Look Good
- Furniture: choose powder-coated aluminum over teak; it’s lighter, cheaper, and durable.
- Rugs: polypropylene flatweave beats “outdoor cotton” for drying and stain resistance at half the price.
- Shade: try a shade sail kit instead of a pergola; tension it with stainless hardware and set posts in concrete.
- Lighting: commercial-grade string lights last longer than bargain sets; buy once, hang once.
- Cushions: start with two premium seat pads you’ll use daily, then add backs later; match zippers so covers can be replaced, not the whole cushion.
FAQ
1) How big should my outdoor rug be under seating?
Choose a rug large enough that at least the front legs of all seating pieces sit on it—typically 5’x8’ for a compact lounge or 6’x9’ for a standard set. For dining, the rug should extend 24 inches beyond the table on all sides so chairs slide fully out.
2) What outdoor fabric actually lasts?
Solution-dyed acrylic (e.g., Sunbrella) resists UV fading and mildew better than polyester blends. Look for removable, zippered covers and quick-dry foam. Darker neutrals hide dirt; rinse monthly and stand cushions on edge to dry after rain.
3) Can I put a fire pit on my deck?
Yes, with caution. Use gas on composite or wood with a rated heat shield and keep clearances per manufacturer. Avoid wood-burning pits directly on wood or composite; sparks and radiant heat damage surfaces. Always check local codes and HOA rules.
4) How do I keep outdoor seating from feeling cluttered?
Limit your palette to two base materials (say, aluminum and woven resin) plus one accent wood. Repeat colors on cushions and planters. Keep surfaces simple and add storage: a bench with hidden space or a deck box for pillows and lanterns.
5) What’s the best lighting temperature outside?
Use warm white around 2700K for string lights, sconces, and pendants; it flatters skin tones and plants. Add low, shielded path lights to avoid glare. Dimmer switches make the space feel like a room and cut energy use.
Here’s the decision point: if your space is tiny, start with the bistro nook; if you’re craving naps and reading, try the hammock corner; if you host most weekends, build the dining zone first. Whichever you pick, layer shade and add a stable surface for drinks, and your new setup will quickly become your favorite place to sit. And if you’re aiming for search-friendly phrasing without clichés, think simply: practical, durable choices that make relaxing outdoors easy. Finally, remember the main keyword naturally—these seven garden seating ideas for relaxing outdoors are meant to be used, not just admired.
Before You Start: Quick Decorating Checklist
- Measure the room before buying furniture or storage pieces.
- Choose one main focal point so the space does not feel busy.
- Repeat at least one finish, texture, or color to make the room feel intentional.
- Check lighting temperature, traffic flow, and cleaning needs before copying the look.
Helpful Product Ideas To Compare
Affiliate disclosure: Some links may be affiliate links. Compare size, material, reviews, and return policy before buying.
- Shop Garden Seating Relaxing Outdoors Decor — useful for checking price ranges, finishes, and real customer photos.
- Shop Garden Seating Relaxing Outdoors Storage — useful for checking price ranges, finishes, and real customer photos.
- Shop Garden Seating Relaxing Outdoors Lighting — useful for checking price ranges, finishes, and real customer photos.
One Comment
Comments are closed.