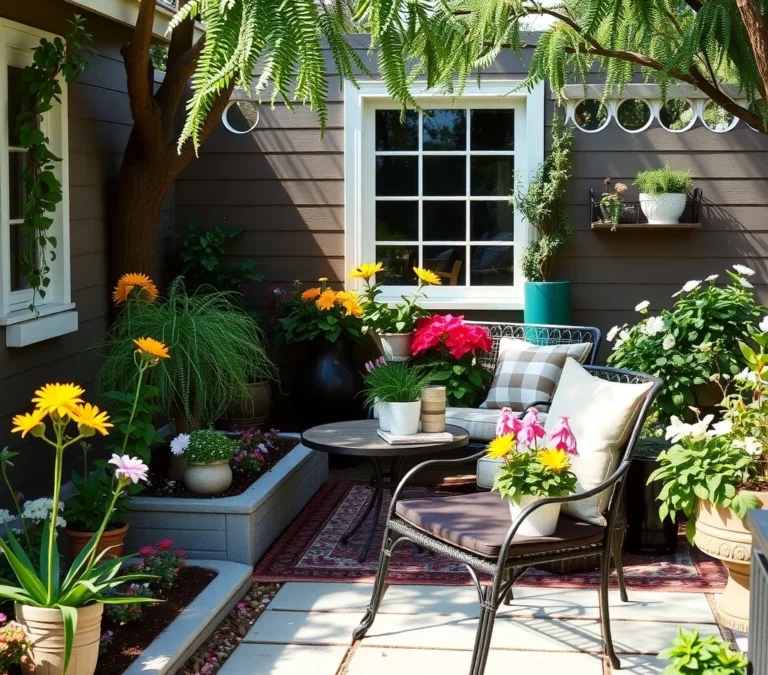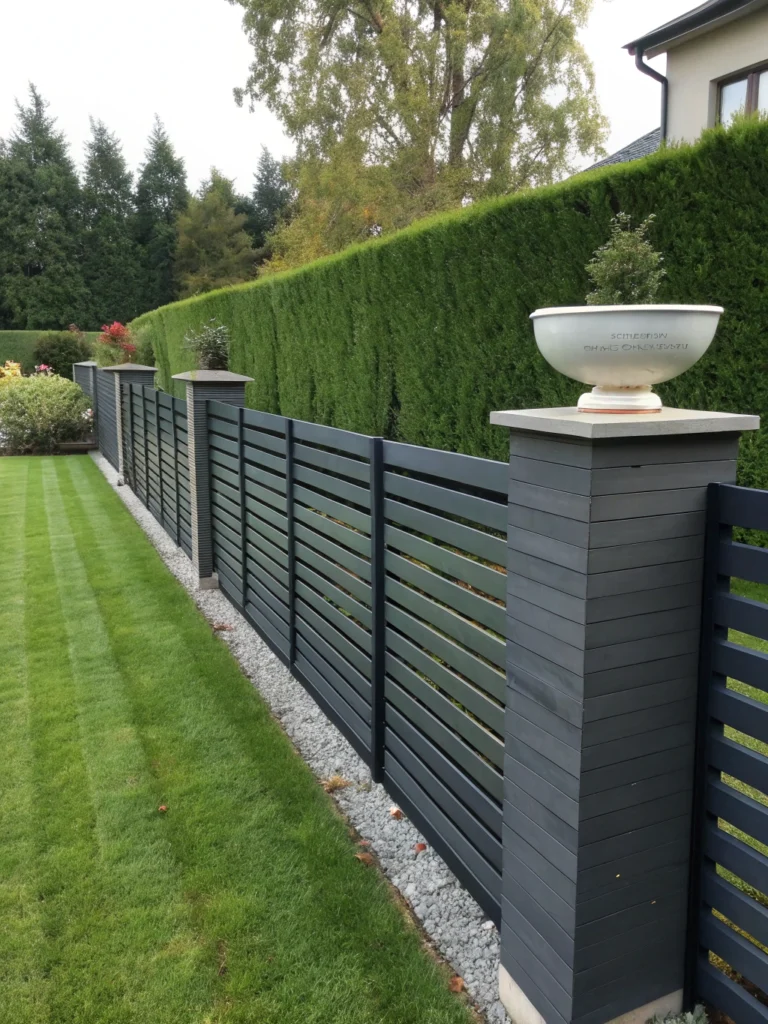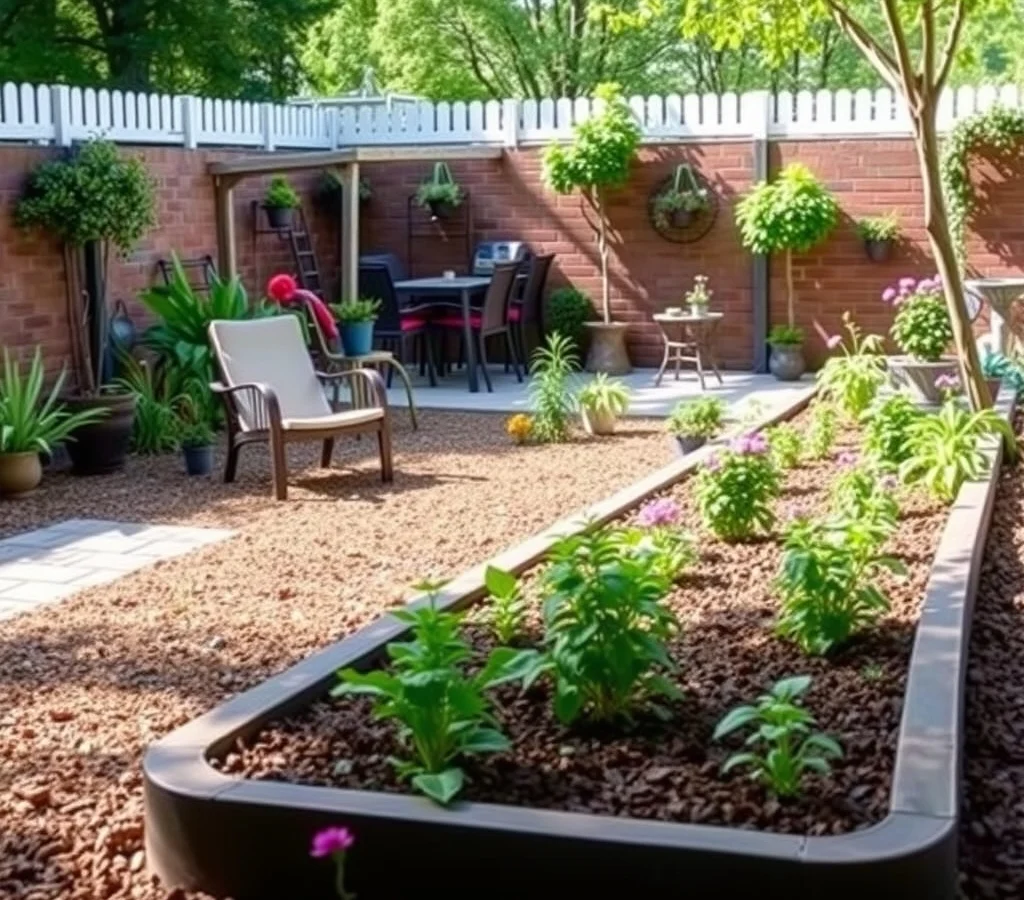
DIY Garden Edging Ideas for Clean and Beautiful Flower Beds

When a flower bed spreads into the lawn, the lack of a clear line can make the whole garden feel untidy. A well‑chosen edging not only defines space, it adds texture, guides foot traffic, and protects planting soil from erosion. Below are seven practical projects you can tackle with common tools and materials, each offering a different look and level of maintenance. Whether you prefer the rugged charm of stone or the crisp geometry of metal, the ideas are adaptable to small suburban yards or larger country gardens.
1. Simple Brick or Paver Border
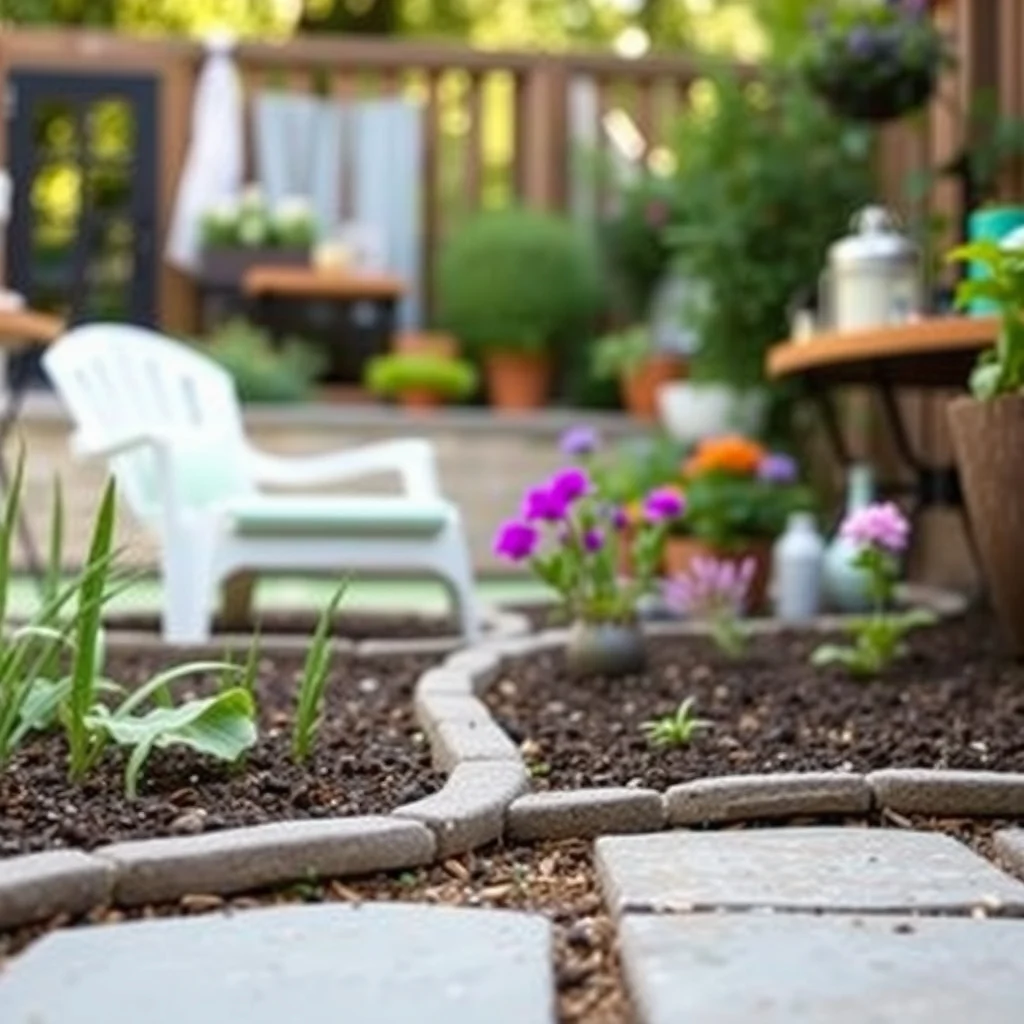
Arranging standard bricks or concrete pavers in a single row creates an unmistakable, low‑profile line that instantly signals where the bed ends. The rectangular shape of each unit produces a rhythm that works well beside formal plantings such as roses or boxwoods. To install, dig a shallow trench about two inches deep, lay a sand base, and set the bricks tightly together, tapping each into place with a rubber mallet. A thin joint of polymer‑based sand filler helps keep the units from shifting after rain.
This approach is budget‑friendly because reclaimed bricks are often available at demolition sites or curbside pickups. The downside is that a solid brick line can become a tripping hazard if the garden is frequently walked on, so it’s best suited to beds that are viewed rather than stepped into. A quick solution is to offset the border slightly from the walkway, allowing a narrow strip of grass or mulch to separate foot traffic from the edging.
2. Recycled Timber Sleepers
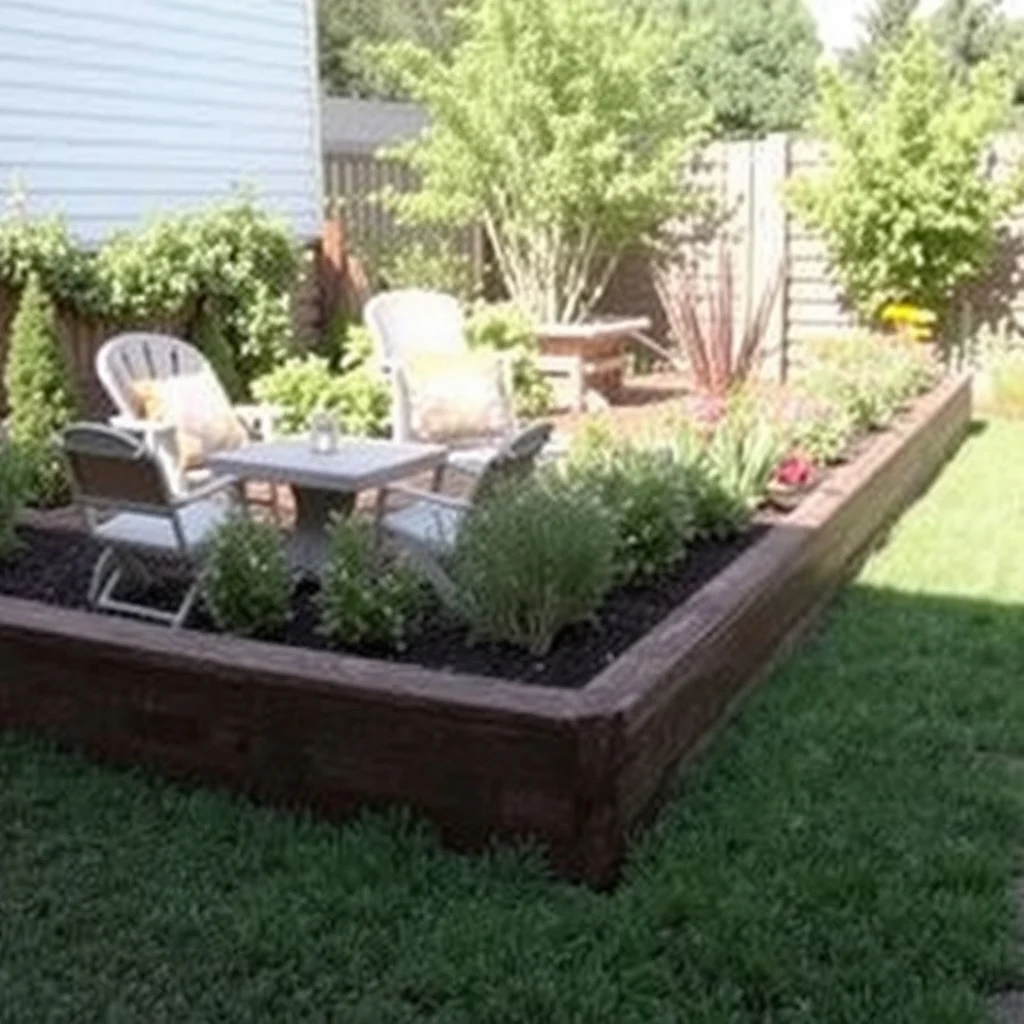
Old railway sleepers or weather‑treated lumber placed horizontally give a rustic, earthy edge that complements native plant palettes. The natural grain of the wood softens the hard lines of a garden and can be stained to match a deck or patio. Begin by measuring the perimeter of the bed, then cut the sleepers to length with a circular saw, allowing a small gap (about a quarter inch) between each piece for drainage.
Secure the sleepers with stainless‑steel spikes driven into a compacted gravel base, or use a concrete footing for added stability on sloped terrain. Wood will eventually weather, turning to a silvery gray if left untreated; applying a UV‑resistant sealant extends its life while preserving the original hue. If you prefer a lower‑maintenance option, select sleepers made from composite material that mimics wood without the rot risk.
3. Metal Edging with Decorative Caps
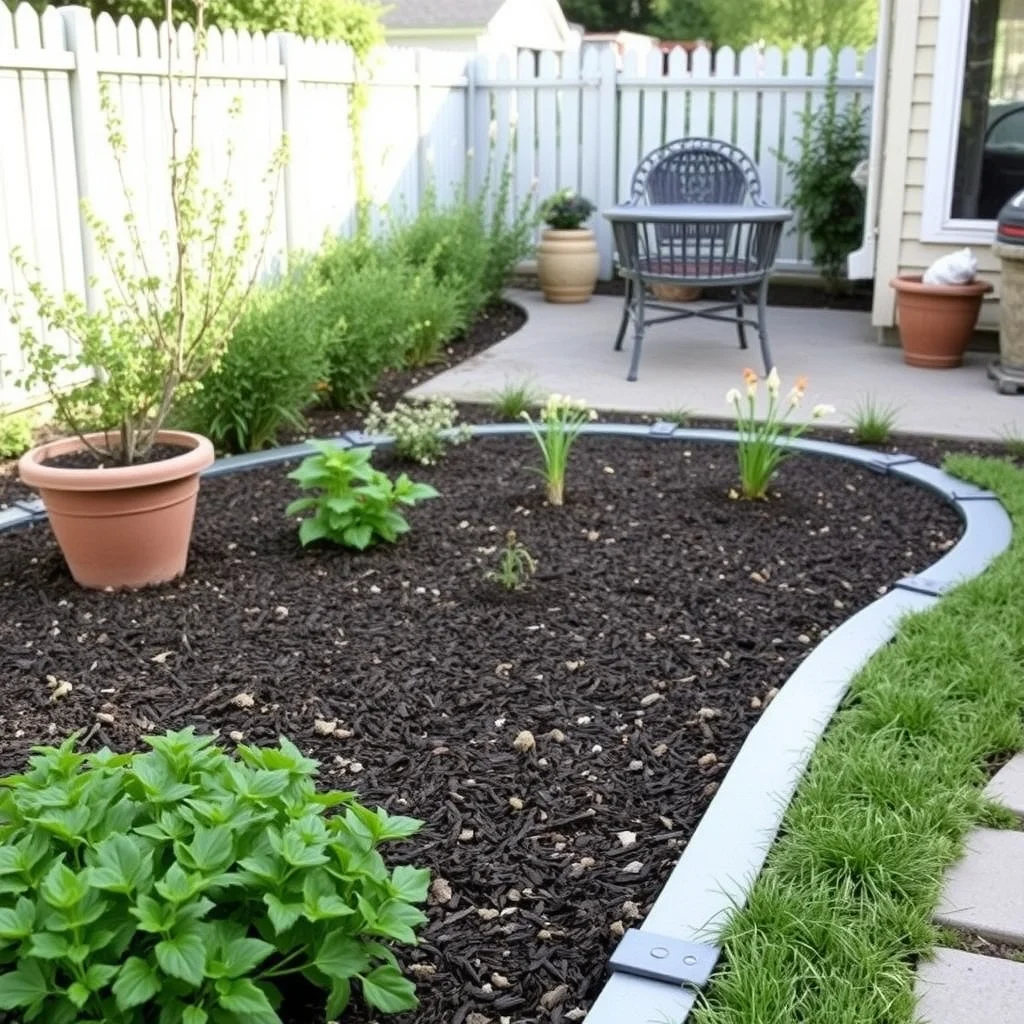
Thin steel or aluminum strips, bent into a “U” shape, produce a clean, contemporary edge that can be hidden beneath a thin layer of mulch. The metal’s thin profile makes it almost invisible when viewed from a distance, allowing the plants themselves to take center stage. To install, drive the edging into the soil using a mallet, then snap the ends together with a simple metal connector. Decorative caps—often available in brushed bronze or matte black—can be pressed onto the top of each strip, adding a subtle visual cue without overwhelming the design.
The primary advantage of metal is its durability; it resists rot and insect damage, and it can be bent to follow gentle curves. However, on very acidic soils the metal may corrode over many years, so a protective coating is advisable if the garden’s pH is low. For homeowners who enjoy a minimalist aesthetic, this option provides definition without the bulk of stone or wood.
4. Natural Stone and Gravel Combination
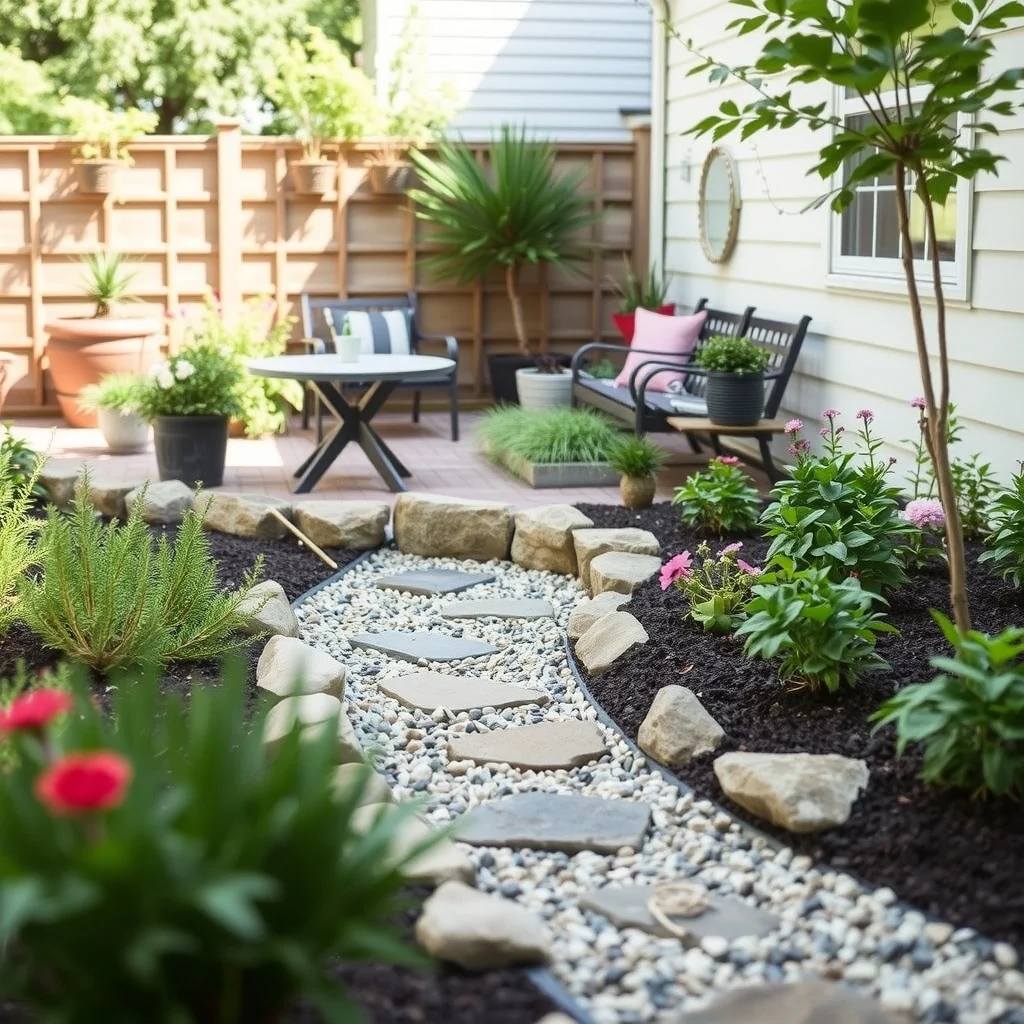
Placing a low wall of flagstone or river rock and filling the base with decorative gravel offers a tactile, multi‑sensory border. The stone’s irregular shapes catch light differently throughout the day, creating a subtle visual interest that changes with the sun’s angle. After excavating a shallow trench, lay a bed of compacted sand, then set the stones, leaving small gaps that you fill with pea‑gravel or crushed limestone.
This arrangement excels in areas with heavy rainfall, as the gravel facilitates drainage and prevents water from pooling behind the bed. The trade‑off is the labor involved in positioning each stone precisely; it can be time‑consuming for larger perimeters. Selecting stones with a natural, muted palette—such as slate gray or warm sandstone—ensures the edging blends with most garden colors without clashing with vibrant flower hues.
5. Raised Bed Using Cinder Blocks
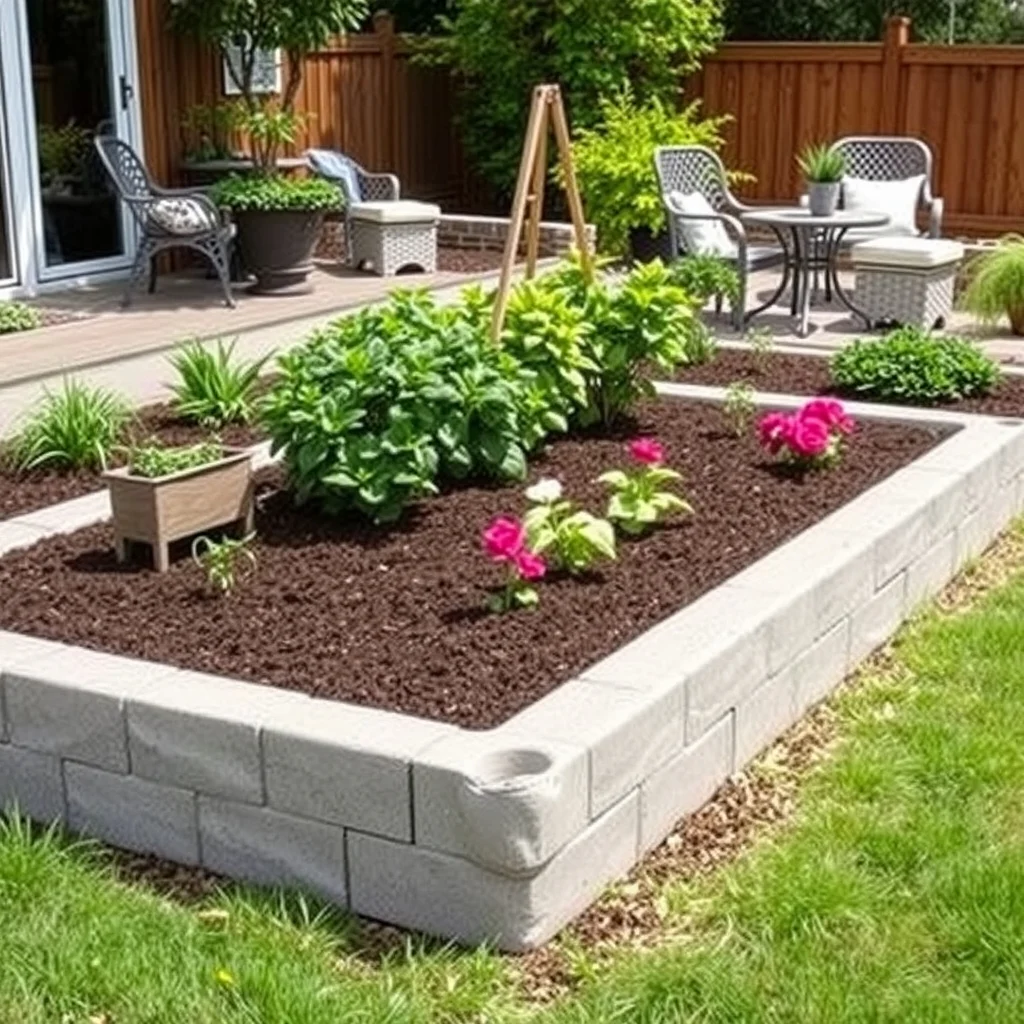
Stacked cinder blocks create a sturdy, modular raised border that doubles as a low retaining wall. The rectangular form of each block provides a clean line, while the hollow interior can be filled with soil to support a deeper planting zone. Begin by laying the first course on a level base of compacted crushed stone, then stagger the joints of subsequent rows for added strength, similar to bricklaying.
Because the blocks are porous, they allow water to seep through, reducing the risk of root rot for plants that sit near the edge. The primary consideration is weight; a full‑size garden bed may require a reinforced foundation if the soil is particularly heavy. Painting the exterior of the blocks in a soft pastel or earth tone can soften the industrial look, making the raised edge feel more integrated with surrounding plantings.
6. Living Edge with Low Hedges or Succulents
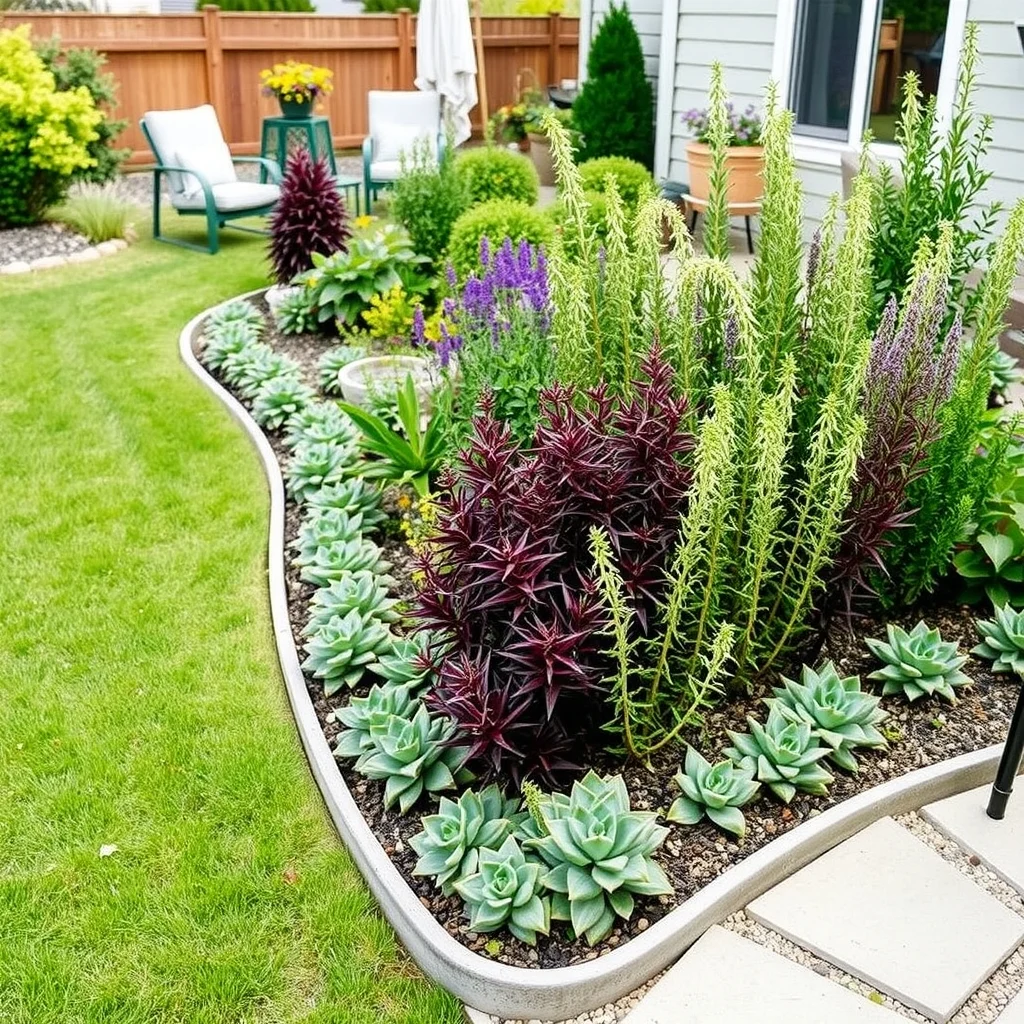
A living border—formed from low‑growing herbs, ornamental grasses, or a band of succulents—creates a soft, organic transition between bed and lawn. The foliage adds seasonal texture and can double as a functional element, such as thyme that releases fragrance when stepped on. Plant a line of compact varieties like dwarf lavender, creeping thyme, or sedum, spacing each starter plant about six inches apart to allow for gradual spreading.
Establishing a living edge requires regular trimming during the first growing season to keep the line defined. Once the plants mature, they form a self‑maintaining barrier that reduces the need for hard materials. A potential drawback is that the edge may become uneven if one species outgrows the others, so selecting plants with similar growth habits helps maintain a uniform appearance.
7. Mosaic Tile Edging
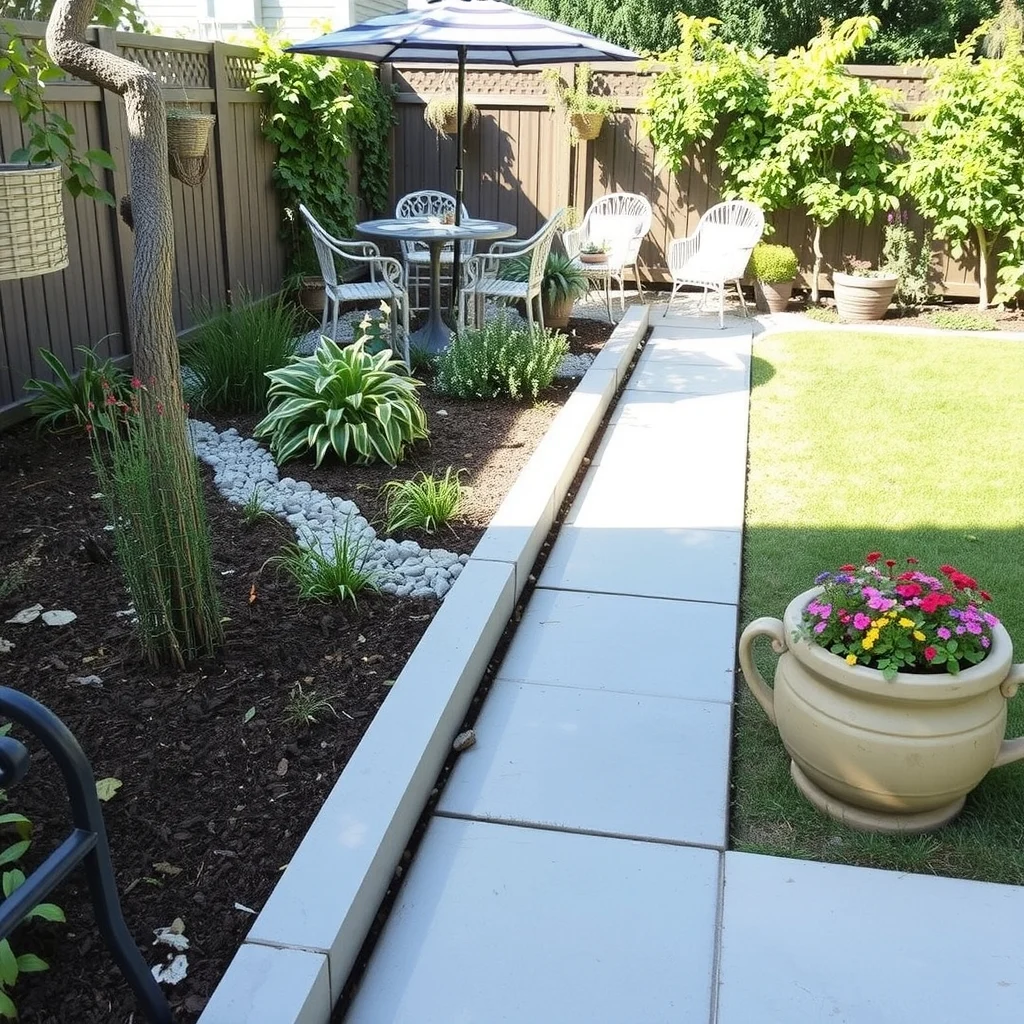
For a splash of color and pattern, small mosaic tiles set in a shallow concrete channel can become a striking focal point. Choose tiles in complementary shades—perhaps soft terracotta, muted teal, or warm greige—to echo the palette of nearby patio furniture or house siding. After cutting a narrow trench, pour a thin layer of concrete, press the tiles into the wet mix, and allow it to cure before back‑filling with soil.
This decorative approach works best for ornamental beds where the visual impact is a priority over pure functionality. Tiles can become slippery when wet, so placing the mosaic a few inches back from the main walking path mitigates any safety concerns. If budget is a consideration, reclaimed or broken tiles from a previous renovation can be repurposed, giving the edging a unique, eclectic feel.
FAQ
How deep should garden edging be buried?
Edging should be set at least two inches below the surface to stay stable during rain and foot traffic. Deeper placement is advisable for heavier materials like stone or concrete, where a three‑to‑four‑inch depth prevents shifting.
Can I use garden edging on a slope?
Yes, but the trench must follow the contour of the slope, and a level base of compacted gravel helps keep the edging from sliding downhill. For steeper grades, break the edging into shorter segments and stagger them slightly to distribute pressure.
What maintenance does metal edging need?
Metal edging generally requires occasional cleaning to remove soil and debris, and a rust‑inhibiting coating should be reapplied every few years in humid climates. Checking the connections for loose fasteners after heavy storms helps maintain a continuous line.
Is it okay to mix different edging materials in one garden?
Mixing materials can add visual interest when the transition is intentional, such as pairing a low stone wall with a living hedge. Keep the heights and widths compatible, and use a consistent color palette to avoid a disjointed look.
How can I prevent weeds from growing behind the edging?
Insert a thin sheet of landscape fabric behind the edging before back‑filling with soil, then cover the fabric with a layer of mulch. This barrier blocks weed seeds while still allowing water to pass through.
Final Thoughts
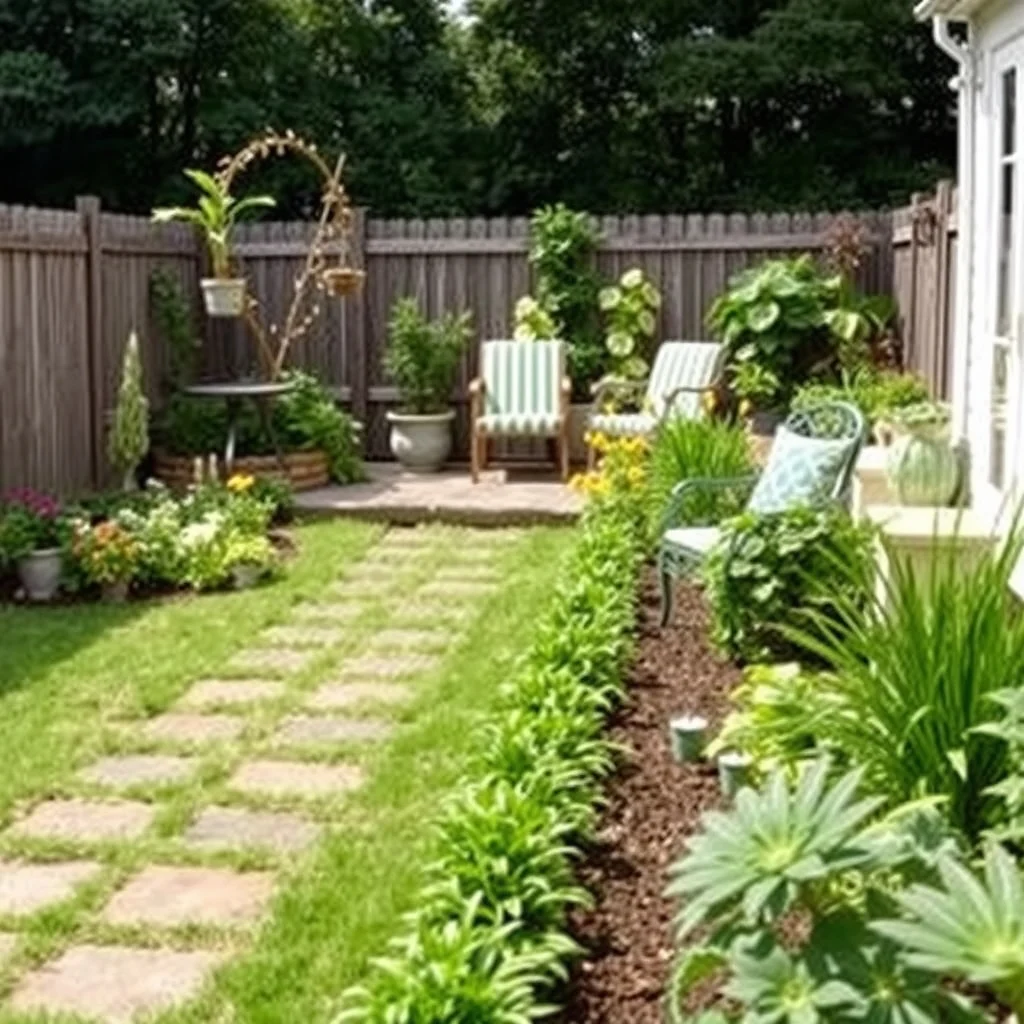
Choosing the right edging is as much about the garden’s overall style as it is about practical concerns like drainage and durability. The seven ideas presented here range from the understated elegance of metal strips to the tactile richness of stone and gravel, each offering a distinct way to give flower beds a tidy, inviting edge. By considering material lifespan, maintenance effort, and how the edging will interact with foot traffic, you can select a solution that not only defines space but also enhances the garden’s character for years to come.