
30 Small Kitchen Hacks for Homes Without a Pantry

16.Create Food Zones for Breakfast, Snacks, Dinner, and Baking
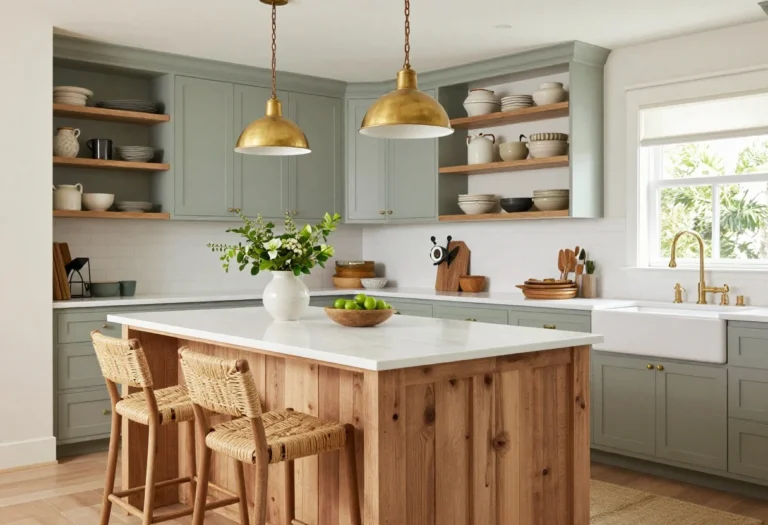
The Problem
When food is organized by its original packaging category (canned goods here, boxes there), it doesn’t reflect how you actually cook and eat. You end up searching across multiple shelves every time you make breakfast or prep dinner.
Why It Works
© 2025 AI Illustrator — Inspiration Only
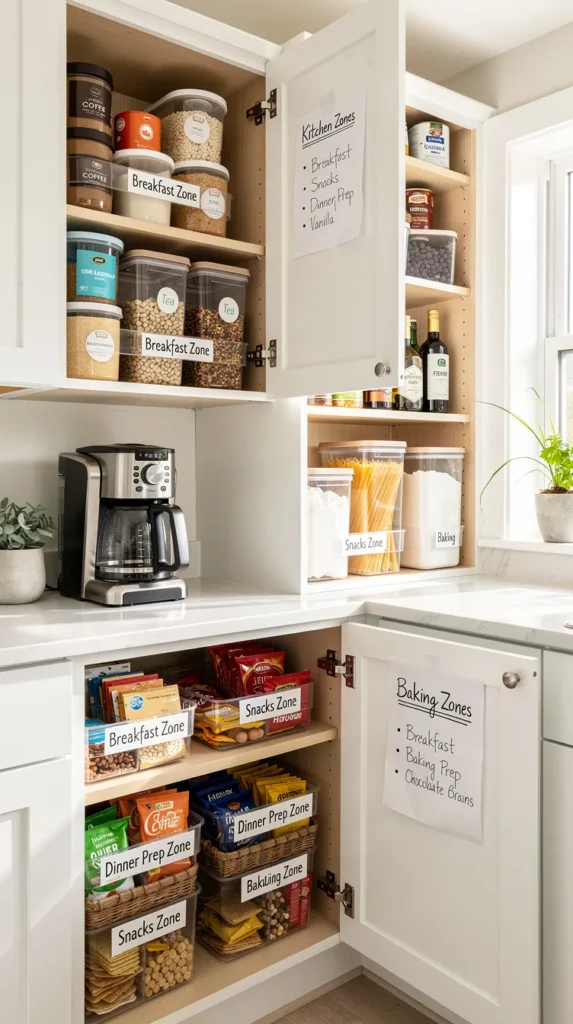
Organizing by meal occasion rather than food type is one of the best small kitchen storage ideas for homes without a pantry, because it mirrors your actual behavior in the kitchen. When everything for breakfast is in one spot, making breakfast takes 30 seconds of reaching — not 3 minutes of assembling ingredients from four different locations.
How to Do It
Think about how you actually use your kitchen. Common zones that work well: a breakfast zone (coffee, tea, oatmeal, cereal, granola, nut butter), a dinner prep zone (oils, vinegars, canned goods, pasta, grains), a snacks zone (crackers, nuts, dried fruit, protein bars), and a baking zone (flour, sugar, baking soda, chocolate chips, vanilla).
Assign each zone a shelf, a cabinet section, or a labeled bin. The breakfast zone might live in an eye-level cabinet near the coffee maker. The baking zone might live in a back corner cabinet since it’s used less frequently. Keep each zone contained — use a small bin or basket to hold each group so it doesn’t drift.
Extra Tips
Make a simple reference sheet on your phone or a small card taped inside a cabinet door showing which zone lives where. When you or a family member restocks the kitchen after shopping, this makes putting things away automatic.
What to Avoid
Don’t make zones so strict that they create confusion. If an item genuinely fits in two zones (like honey, which you might use for breakfast and baking), pick the zone where you use it most and note it in your reference sheet.
Page 4 Quick Checklist
- Pick 5 high-use dry goods to decant into clear containers first
- Choose a label style and gather materials before you start
- Map out 3–4 food zones that match how your household cooks
- Label both containers and the shelves/bins they sit on
Up Next: Rolling and Portable Storage
If you need more storage but can’t install anything permanent, a slim rolling cart might be the closest thing to a built-in pantry you can get. Next: how to choose and use one strategically. ← PreviousNext: Rolling Storage →
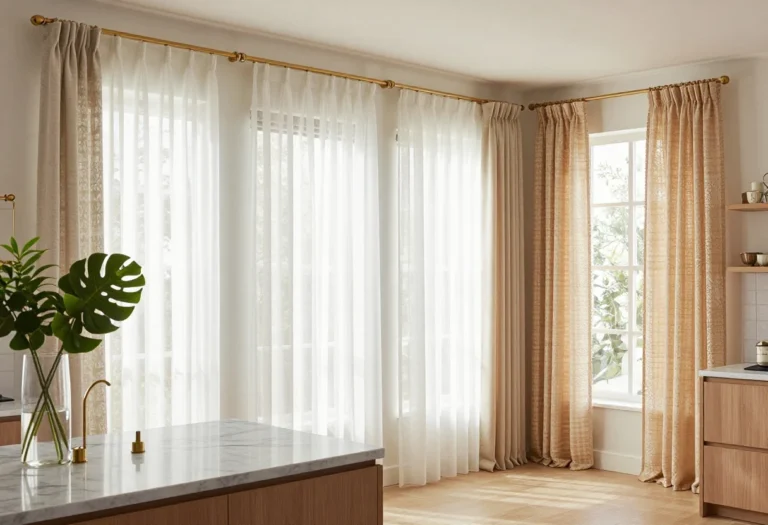
15.Add Rolling and Portable Storage
A rolling cart is one of the most effective pantry alternatives for small kitchens — especially for renters or apartment dwellers who can’t install permanent storage. The key is choosing the right cart and placing it strategically.
© 2025 AI Illustrator — Inspiration Only
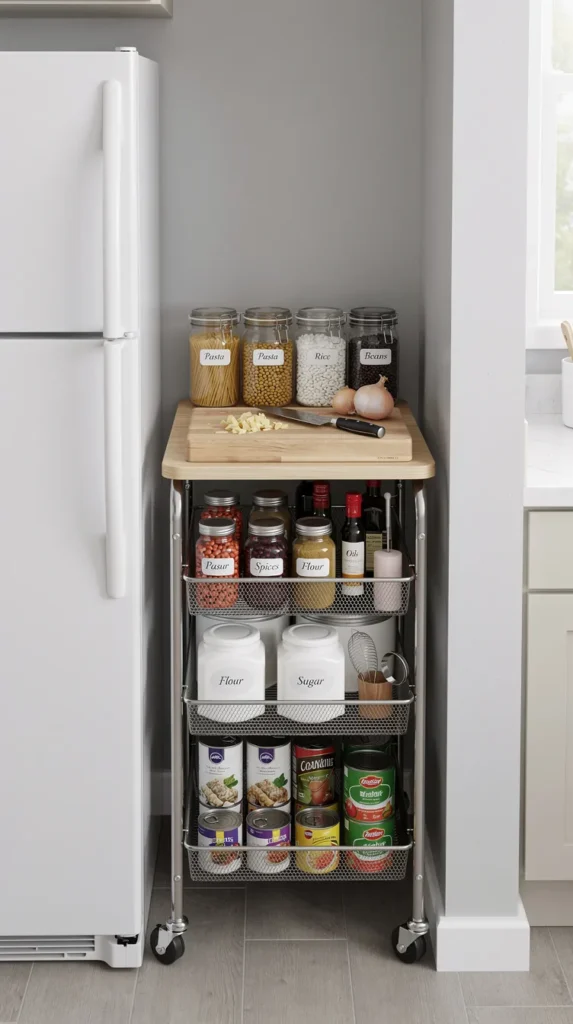
14.Use a Slim Rolling Cart as a Pantry Alternative
The Problem
Small kitchens typically have limited counter and cabinet space, no spare wall for built-ins, and no room for a large freestanding unit. Yet the need for dry goods storage is the same as in any kitchen. This is the core challenge of apartment kitchen storage without a pantry.
Why It Works
A slim rolling cart — typically 8–14 inches wide and 3–5 shelves tall — creates a portable mini pantry that can slide into dead spaces, roll out for use, and move with you if you relocate. It’s one of the most popular pantry alternatives for small kitchens precisely because it requires no installation, no tools, and no permanent commitment.
How to Do It
Measure the gap you’re planning to fill before buying. The most useful slim carts are between 8 and 12 inches wide — thin enough to fit between an appliance and a wall, or in a narrow kitchen gap. Look for carts with locking wheels (so it doesn’t roll while you’re using it), rust-resistant materials if near moisture, and open shelving (so items are visible without lifting anything).
Decide what function the cart will primarily serve. Options include: a full dry goods pantry replacement, a spice and condiment station, a baking supply cart, or an extra prep surface if you buy one with a solid top.
Extra Tips
If you buy a cart with a solid wood top, you gain a small bonus prep surface and the option to add a butcher block cutting board that lives on the cart permanently. This essentially adds both storage and counter space at the same time.
What to Avoid
13.Use Stackable Bins on the Cart
Don’t buy a cart that’s too wide for your kitchen to comfortably accommodate. Measure twice, especially if you’re planning to park it in a specific gap or nook. A cart that blocks a traffic lane gets moved constantly and eventually abandoned.
The Problem
A rolling cart with open shelves tends to become visually chaotic fast. Items slide around when you roll the cart, and things at the back of each shelf get pushed behind items at the front — recreating the same deep-cabinet problem you were trying to solve.
Why It Works
© 2025 AI Illustrator — Inspiration Only

Placing stackable bins on each shelf of the cart turns each shelf into a categorized, contained zone. Items stay where they belong even when the cart rolls. You can pull out an entire bin (“snacks bin,” “pasta bin”) instead of picking through loose items. And because bins stack, you can often fit two layers on a single shelf, effectively doubling what the cart holds.
How to Do It
Measure your cart’s shelf dimensions before buying bins. Match the width of the bin to the depth of the cart shelf so items don’t hang over the edge. Clear bins are ideal — you can see everything inside without pulling the bin out. Wire bins allow ventilation, which matters for fresh produce or anything that might retain moisture.
Stack similar-height items in each bin and label the front. Assign each bin a category: grains, canned goods, snacks, sauces, baking. Treat each bin as a mini food zone (using the system from page 4).
Extra Tips
Bins with handles are significantly easier to pull out and replace on a cart shelf. Look for bins with front-cut-outs or handles if you plan to stack them two high.
What to Avoid
Don’t stack bins so high that the cart becomes unstable or hard to roll. Distribute weight evenly across shelves and keep heavier items at the bottom.
One Comment
Comments are closed.